Plumbing Rough‑In: What It Is and How to Get It Right
When you hear "rough‑in" on a building site, it’s the stage where the pipes are laid out before any walls or finishes go up. It’s not the final finish, but it sets the backbone for every faucet, toilet, and shower that will follow. Getting the rough‑in right saves you time, money, and a lot of headaches later.
Key Steps in a Rough‑In
First, pull the plans. Look at the architect’s drawings and note every fixture location. Mark the floor and ceiling with chalk lines so you know exactly where each pipe should run. Next, choose the right pipe material – most UK homes use copper, PEX, or uPVC depending on the area and budget.
After the material is chosen, cut and deburr the pipe sections. A clean cut prevents leaks and makes fitting easier. Then, start threading or pushing the pipes through the walls, joists, and floor slabs according to your layout. Remember to leave a little slack at each joint; pipes expand and contract with temperature changes.
Once the network is in place, install all the necessary fittings – elbows, tees, and reducers – and secure everything with clamps or brackets. The final step before the inspection is a pressure test. Fill the system with water, pressurise it, and watch for drops. If the pressure holds, you’ve passed the rough‑in test and can move on to the next phase.
Common Mistakes and How to Avoid Them
One big mistake is cutting pipes too short. Always measure twice, cut once, and keep a few extra inches on hand for adjustments. Another trap is ignoring local building codes – a missed vent pipe or wrong pipe slope can cause serious drainage problems down the line. Double‑check every requirement before you start.
Rushing the bracketing job also leads to sagging pipes, which creates stress points and potential leaks. Use sturdy brackets and space them evenly – about every 4‑6 feet for copper, a bit tighter for flexible PEX. Finally, don’t skip the pressure test. It may seem like an extra step, but catching a leak now is far cheaper than tearing down a wall later.
By following these steps and watching out for the common pitfalls, your plumbing rough‑in will be solid, code‑compliant, and ready for the finish work. That means smoother installations for bathrooms, kitchens, and any other wet area in your new build or remodel.
Dry Fit Kitchen: What It Is, Why It Matters, and How to Do It Right (2025 Guide)

A clear, practical guide to what a dry fit kitchen is, what it includes, cost, timing, steps, and checklists-so you avoid expensive mistakes before final install.
read moreRecent Post
-
How to Renovate Your Bathroom on a $10,000 Budget
Jan, 17 2025
-
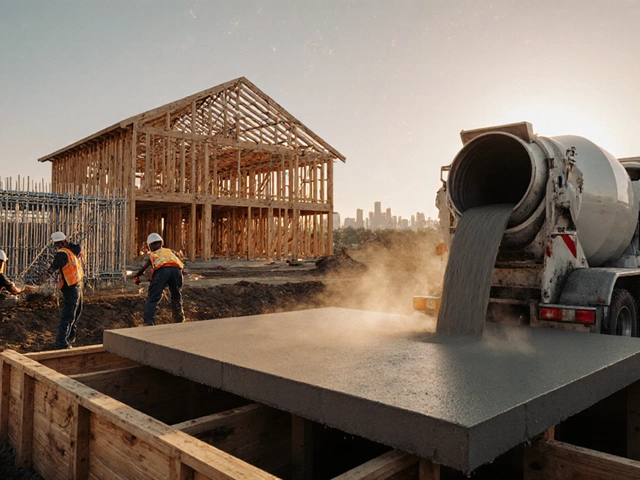
Top 10 Common Construction Materials Used Today
Oct, 8 2025