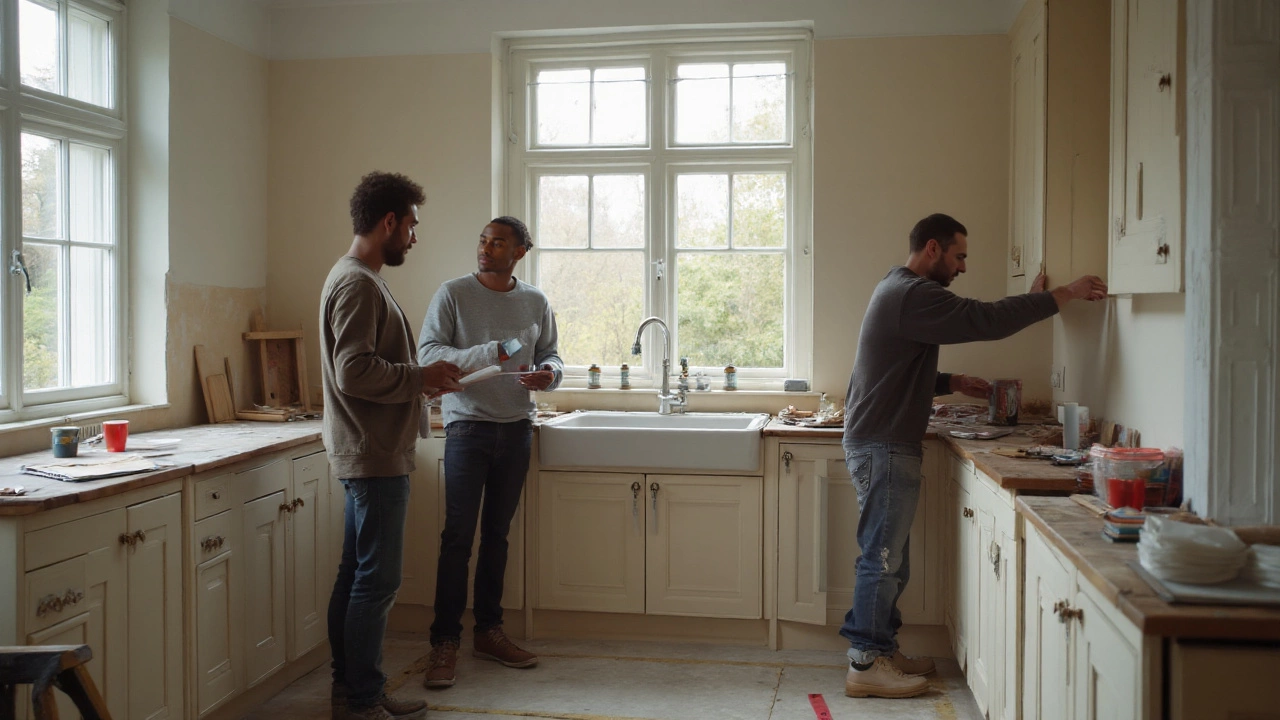
If you’ve ever watched a kitchen go sideways after the cabinets are already screwed to the wall, you know the pain. A dry fit kitchen is the rehearsal that saves the show. It’s the full-size, on-site test fit of cabinets, panels, fillers, and appliances-without permanent fastening or live hookups-so you can catch layout clashes, service misalignments, and clearance issues before anything is final.
- TL;DR: A dry fit is a temporary, non-permanent test installation of cabinets and appliances to verify layout, clearances, and rough-ins before final install.
- What’s included: setting and leveling boxes, placing appliances, checking doors/swings, marking studs and holes, confirming countertop templates.
- What’s not: no final fasteners, no countertops set, no plumbing/electrical/gas hookups.
- When to do it: after framing and rough-ins are complete and inspected, before countertop templating and final cabinet fastening.
- Typical time/cost (Canada, 2025): 1-2 days; $800-$2,000 for labor, depending on kitchen size and complexity.
What a Dry Fit Kitchen Really Means (and What It Isn’t)
Think of a dry fit as a staged dress rehearsal. Installers assemble and set all boxes, panels, toe kicks, fillers, and trims. Appliances go in their bays. Everything is leveled and aligned. But nothing is permanently attached, and no utilities are connected. The goal is to prove the plan works in the real room with real walls, real floors, and real tolerances.
What it includes:
- Setting base and wall cabinets on layout lines, finding the high point of the floor, and leveling runs.
- Clamping and shimming to establish reveals, gaps, and straight lines.
- Test-placing appliances: fridge, range, dishwasher, microwave drawer, wall oven, wine/beverage center.
- Dry setting panels, filler strips, toe kicks, and any gables that affect spacing.
- Checking door and drawer swings, pull clearance, and traffic aisles.
- Confirming centerlines (sink, range, hood), marking studs, and marking penetrations for plumbing/electrical.
- Coordinating countertop templating once the layout is proven.
What it does not include:
- No permanent fastening into studs or floors (temporary screws/clamps are fine).
- No countertop install; at most, you template after dry fit validation.
- No live hookups: plumbing, electrical, and gas remain capped and off.
- No final scribing or trimming that can’t be undone.
Why do it? Because most kitchen pain comes from compounding 3-10 mm errors-out-of-plumb walls, a floor that drops 12 mm across a run, a vent duct 40 mm off center, a fridge door hitting a wall. A dry fit surfaces these before they cost you extra trips, reorders, and damaged cabinets.
Codes and standards still matter at dry fit. In Canada, your electrical rough-ins need to align with the adopted Canadian Electrical Code (CEC) in your province. Gas work follows CSA B149.1. Venting and clearances must meet manufacturer instructions, which trump generic rules. In Nova Scotia, building and trades inspections are enforced at specific stages; plan your dry fit after rough-in inspections, not before.
Common misconceptions:
- “It’s just for custom cabinets.” Nope. Flat-pack and semi-custom benefit just as much-especially with fillers and panels.
- “It’s the same as templating.” Templating for counters comes after the dry fit proves cabinet positions and reveals.
- “It adds time.” It often saves time by eliminating rework and delivery delays.
Red flags dry fits catch fast:
- Dishwasher door colliding with an island when open.
- Fridge doors not clearing adjacent walls or tall pantry gables.
- Range hood off the cooktop centerline.
- Sink base not aligning with drain/vent stubs or window centerline.
- Microwave drawer interfering with toe-kick heater or baseboard.

Plan and Execute a Dry Fit: Step-by-Step (With Pro Tips)
Before you start, gather your plan set (floor plan, elevations, appliance specs), a 2D layout with dimensions, and all installation manuals. In 2025, most Canadian suppliers provide accurate spec sheets; keep them on-site or downloaded.
Tools and materials checklist:
- 6-8 ft levels, laser level, tape measure, framing square.
- Stud finder, painter’s tape, pencil, fine-tip marker.
- Clamps, shims, temporary screws, blocks.
- Cabinet legs/feet, toe-kick stock, filler material.
- Appliance cut sheets and minimum clearance diagrams.
- Countertop templating kit (or book the templater for the day of validation).
- Verify the room. Check floor flatness (tolerance: within 6 mm over 3 m is a fair target), wall plumb, and corners. Identify the high point of the floor-your bases will reference this.
- Confirm rough-ins. Measure centerlines and heights of plumbing, electrical, and gas against the plan. If your sink, DW, and disposal are in a run, ensure the drain/vent and receptacles sit within the sink base. Gas stubs should be within the range bay, low enough for the appliance to push back per the manual. If anything is off, pause and adjust rough-ins now.
- Snap layout lines. Mark base cabinet lead edge and top line on the wall. Mark stud locations clearly. Mark appliance centerlines (sink, range, hood, fridge water line). Label everything-future you will thank you.
- Assemble boxes. Pre-assemble flat-pack cabinets as needed. Don’t install doors/drawers yet; keep boxes light.
- Set base cabinets. Start in the most critical corner or at a fixed element (e.g., tall pantry, wall oven stack). Level the first cabinet to the high point of floor. Work outwards, adding boxes, clamping face frames or edges to get a straight line. Shim as necessary. Keep a consistent reveal at walls for fillers (usually 12-38 mm depending on your design).
- Place appliances dry. Slide in the dishwasher, range, and fridge to their bays. For microwaves/drawers/wall ovens, place the carcass or a template to confirm fit. Check door swings and handles clearing adjacent surfaces.
- Fit fillers and panels. Dry position any end panels, gables, and fillers. This is where you’ll see if your math holds. Adjust filler thickness to maintain centered appliances and equal reveals.
- Check clearances and workflow. Walk the kitchen like you’ll cook in it. Open doors and drawers. Pull out bins. Check that at least one primary aisle supports your household (see aisle guidelines below). If it feels tight now, it’ll be worse later.
- Mark everything. Mark stud locations inside cabinets. Mark plumbing/electrical penetration points on the back panels. Label each box and its final position. Note any scribe amounts on fillers/panels.
- Range hood and venting. Confirm hood height and centerline over the cooktop. Check the duct path and wall/ceiling cap location. If the hood requires a specific back-cap or transition, dry fit it to ensure no joist/beam conflicts.
- Sink and faucet. Dry set the sink in its base (if top-mount) or test the cutout template against the cabinet rails (for undermount). Check faucet swing against backsplash and window mullions. Confirm dishwasher air-gap or high-loop plan per plumbing code and manufacturer.
- Island and seating. Position the island, verify overhangs, seating legroom, and electrical locations for island receptacles (CEC requirements apply). Ensure the island anchor points will hit structure, not just subfloor.
- Countertop templating. Once everything is proven, invite the templater or make a precise template yourself. Leave spacer strips where needed to indicate overhangs and reveal. Note any build-ups or mitered waterfall details.
- Document and disassemble. Take photos with a tape in frame for scale. Update your drawings with any adjustments. Carefully remove appliances and boxes in reverse order, keeping shims and labels with each cabinet.
Rules of thumb (use manufacturer instructions or local code where they differ):
- Aisle widths: 1 cook, 915 mm (36 in) minimum; 2 cooks, 1065-1120+ mm (42-44 in). NKBA guidelines are a reliable planning reference.
- Fridge next to wall: plan a 25-50 mm (1-2 in) filler or panel so the door swings fully and drawers pull out.
- Dishwasher: maintain at least 530 mm (21 in) clear floor space in front when open.
- Range/cooktop to hood: follow the appliance/hood manual; if unknown, a common default is ~760 mm (30 in) to combustibles.
- Toe-kicks: about 100-115 mm high (4-4.5 in) and 75-90 mm deep (3-3.5 in) for comfort.
- Countertop overhang: 25-38 mm (1-1.5 in) typical; seating overhang 250-300 mm (10-12 in), with support beyond 200-250 mm depending on material.
| Item | Recommended Clearance/Spec | Why It Matters | Notes |
|---|---|---|---|
| Main aisle width | 915 mm (36 in) minimum; 1065-1120 mm (42-44 in) for 2 cooks | Prevents bottlenecks and door clashes | NKBA planning guideline; adjust for family size |
| Fridge hinge side | 25-50 mm (1-2 in) to wall/panel | Full door swing and drawer pull-out | Check your model’s door thickness and hinge arc |
| Range to hood | Per manual; default ~760 mm (30 in) | Safety and capture efficiency | Gas often needs more clearance; follow CSA B149 & manufacturer |
| Dishwasher door open clearance | 530 mm (21 in) min in front | Safe loading without blocking aisle | Place away from corners when possible |
| Island seating overhang | 250-300 mm (10-12 in) | Knee/leg comfort | Support required beyond ~200-250 mm depending on top |
| Countertop overhang (working edge) | 25-38 mm (1-1.5 in) | Protects doors, looks finished | Coordinate with door thickness and handles |
Code and compliance notes (Canada):
- Electrical: Follow the current Canadian Electrical Code as adopted in your province (Nova Scotia adopts the CEC with amendments). Countertop receptacle spacing, dedicated small-appliance circuits, and GFCI/AFCI rules apply.
- Gas: CSA B149.1 governs gas appliance installation. Use a licensed gasfitter for stubs, valves, and connections. Maintain clearances per the appliance manual.
- Ventilation: Range hood duct sizing, length, and termination must meet the hood manufacturer’s specs. Makeup air may be required for high-CFM hoods in tight homes.
- Permits/Inspections: Dry fit happens after rough-in inspections pass and before finish inspections. Coordinate with your local authority having jurisdiction.
Pro tips from the field:
- Label every box and panel with blue tape: position, orientation, and scribe amount.
- Keep a “filler bank” on hand (12, 25, 38 mm). You’ll use it to balance reveals quickly.
- Mark your laser line on painter’s tape, not the wall-you’ll remove it cleanly.
- Use sacrificial screws into studs for temporary clamping rails; pull them before final.
- Photograph every wall with a measuring tape in frame after dry fit; you’ll know what’s inside once everything’s closed up.
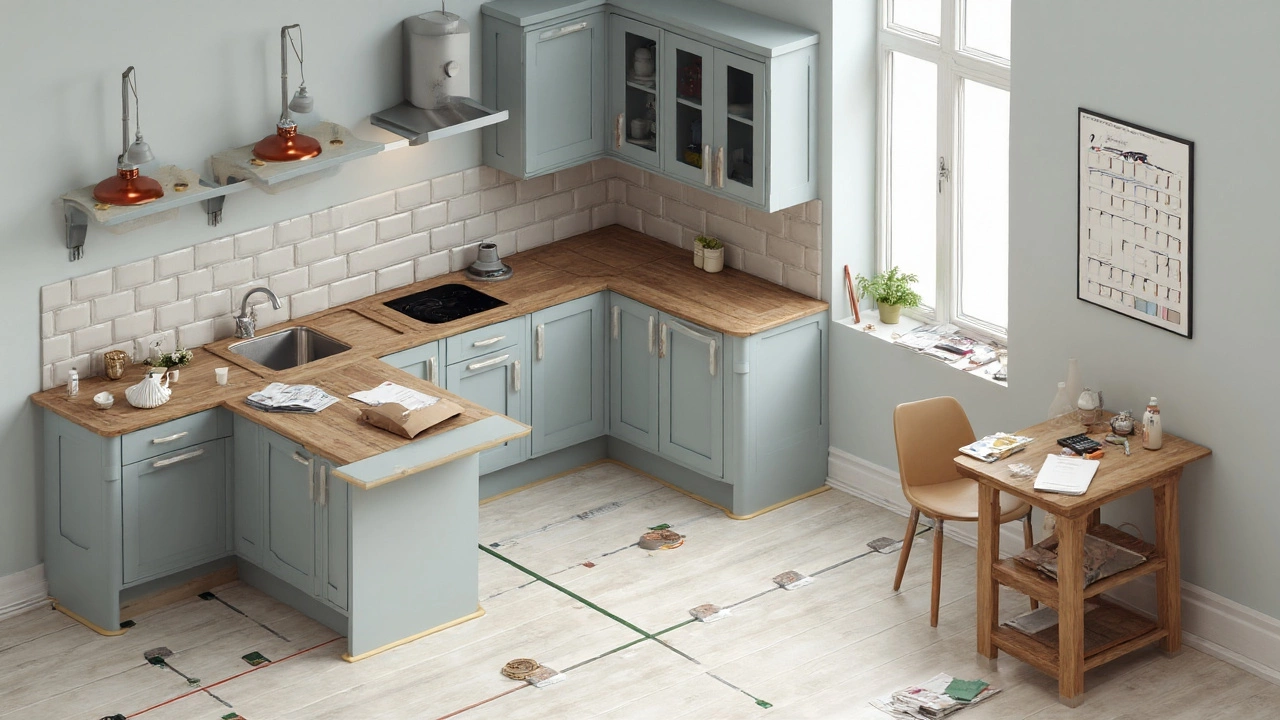
Examples, Costs, Checklists, and FAQs for 2025 Renovators
Halifax example: 12×14 ft L-shape with a 7 ft island. Semi-custom boxes, quartz tops, standard 36 in fridge, 30 in range, 24 in dishwasher, 36 in hood.
- Dry fit time: 1.5 days with two installers.
- Issues caught: fridge hinge side needed a 38 mm panel to clear wall; hood duct shifted 25 mm to hit stud bay; sink base moved 12 mm to center window mullion.
- Savings: avoided a quartz recut and a custom panel reorder; about $900 in avoided costs, plus a week of schedule slip.
Typical Canadian cost/time (2025):
- Small condo galley (8-10 boxes): 6-8 hours; $500-$900 labor.
- Mid-range kitchen (14-20 boxes + island): 1-2 days; $800-$2,000 labor.
- Large/custom (20+ boxes, panels, built-ins): 2-3 days; $1,800-$3,500+ labor.
Where the money goes: skilled labor to assemble, level, scribe, and problem-solve; coordination time with templaters and trades; careful handling of appliances and panels.
Dry fit checklist you can print:
- Rough-ins match plan (sink, DW, fridge water, range/gas, hood, receptacles).
- Room checked for level/plumb; high point of floor identified.
- Layout lines snapped; studs marked; centerlines marked.
- Base cabinets leveled from high point; runs straight; reveals consistent.
- Appliances dry/placed; doors and drawers open without collision.
- Fillers/panels positioned; notes on scribe amounts.
- Island positioned; seating and electrical confirmed.
- Hood centerline and height confirmed; duct path clear.
- Sink and faucet dry fit; backsplash clearance verified.
- Countertop templating complete; overhangs and seams approved.
- Photos and measurements captured; labels on everything.
Decision guide: DIY or hire?
- DIY dry fit if: you’re comfortable with lasers/levels, can read spec sheets, and the layout is simple (straight runs, standard appliances).
- Hire a pro if: you’ve got an island with seating, integrated panels, built-in ovens, a challenging hood/duct, or any wall/floor out-of-true by more than ~10 mm across a run.
Mini-FAQ
- Is a dry fit necessary for prefab/flat-pack kitchens? Yes. Prefab boxes still need fillers, shims, and alignment to your unique room.
- Can I template counters without a dry fit? You can, but you’re gambling. If a cabinet moves even 6-10 mm afterward, your top won’t fit.
- Do I need permits for a dry fit? Permits cover the renovation. The dry fit itself isn’t a permitted stage, but it should happen after rough-in inspections and before finishes.
- What if my appliances haven’t arrived? Use full-size cardboard templates or manufacturer-provided dimensional templates. Don’t guess.
- How long between templating and countertop install? Typically 1-3 weeks in 2025, depending on the fabricator and material.
- Will installers remove everything after a dry fit? Usually yes. They’ll disassemble, protect parts, and return for final install once counters are ready.
Pitfalls to avoid:
- Skipping the filler plan. Without planned fillers, you’ll end up crowding appliances or pinning a door to a wall.
- Forgetting the fridge water line. It needs to be accessible, not crushed by the cabinet or too far back for the fridge to reach.
- Ignoring hood duct specs. Undersized ducts kill performance and increase noise.
- Setting wall cabinets before confirming the countertop height from the high point of the floor-your backsplash will hate you.
- Not protecting floors during dry fit. Slide cabinets on clean Ram Board or blankets; don’t gouge your new LVP or hardwood.
Troubleshooting different scenarios
- Old house, wavy floors: Shim from the high point and accept a taller toe-kick in the low area; scribe fillers to walls to hide wavy plaster.
- Tight galley: Use slimline panels, plan fridge hinge clearance carefully, and consider a counter-depth fridge. Favor 915 mm aisles; use pocket doors for pantries.
- Massive island: Pre-plan electrical locations, seating overhang supports, and seam layout for stone. Dry fit the subtop if you’re doing a waterfall edge.
- Panel-ready appliances: Bring the panel thickness and handle projection into the dry fit. Many 24 in dishwashers need a bit more reveal for panel swing.
- High-CFM hood (600+ CFM): Confirm makeup air requirements with your HVAC contractor. Dry fit the duct transitions and backdraft damper.
When to bring in specific pros
- Electrician: to verify outlet placement inside appliance bays, island circuits, and undercabinet lighting runs per CEC.
- Plumber: to confirm sink base penetrations, disposal wiring/air-gap, and shutoff accessibility.
- Gasfitter: to ensure the shutoff and quick-disconnect are reachable and the appliance can slide fully back.
- Countertop fabricator: to template after dry fit and advise on seam location and support.
What success looks like
- Every box, panel, and filler has a labeled home.
- Appliances slip into place without touching walls or panels.
- Studs are marked inside every cabinet, and fastener locations are planned.
- Countertop template aligns with the proven layout, not wishful thinking.
- No surprises left that require cutting into finished cabinets.
If you’re renovating in a Canadian city like Halifax, expect inspectors to care far more about what’s behind the cabinets than how pretty your doors look. A good dry fit honors both-your kitchen looks right, and it functions right. Do the rehearsal, and opening night goes smoothly.
