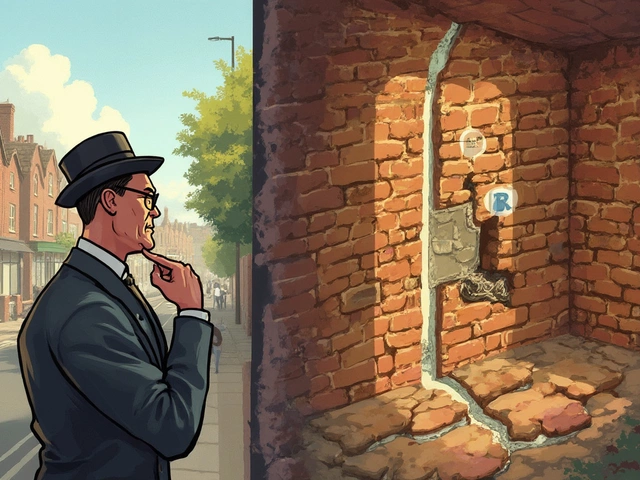
Cracks in your house’s foundation always feel like bad news, but not every crack spells doom. The real question: what’s the best way to actually repair these cracks so you don’t just hide a bigger problem? There’s no magic glue, but some fixes work way better than others—if you pick the right approach for your situation.
First up, don’t just slap some patch on every crack you see. Figuring out why it showed up goes a long way toward making sure it doesn’t come back. Most foundation cracks happen because concrete shrinks as it dries, the ground shifts, or water creates pressure from the outside. Not all cracks are equal—some are harmless, others can lead to leaks or major structural trouble if you ignore them.
So before reaching for any sealant or kit, you’ve got to check: is this a tiny hairline crack, or something wide enough to slide a dime in? Are there signs of moisture or does the crack keep getting bigger? Knowing what type of crack you’re dealing with makes a big difference. You’ll save time, hassle, and money if you match your repair to the real problem.
- Why Foundation Cracks Happen
- Types of Cracks and What They Mean
- Best Repair Methods (And When To Use Them)
- DIY vs. Pro: Which Route Makes Sense?
- Long-Term Tips to Prevent Future Cracks
Why Foundation Cracks Happen
It usually starts simple: you spot a line in the concrete and wonder if your house is about to fall down. Most times, it’s not that dramatic. The main thing driving foundation cracks? Concrete just does what it does—it shrinks as it cures, settles as the soil moves, and gets bumped by changes in water around your home. Even new houses can get cracks within the first year because concrete loses a little moisture and pulls itself apart in tiny ways.
This isn’t just guesswork. According to the American Concrete Institute, “up to 80% of residential foundations experience some form of cracking within the first few years, usually related to shrinkage and settlement.” If you spot cracks, you’re not alone—it’s almost routine for homeowners.
"Most hairline cracks are cosmetic and result from the natural curing process of concrete. Larger cracks, especially those wider than 1/4 inch or accompanied by movement, could signal structural issues." – International Association of Certified Home Inspectors
Here’s what gets foundations cracking:
- Soil movement: If the dirt under your home swells up after rain or dries out in a drought, it pushes or pulls on your foundation. Clay soils are notorious for this shifting.
- Bad drainage: Water is sneaky—if it collects near foundation walls, it can force its way through tiny cracks or push walls inward. Poor gutters, broken downspouts, or sloped yards make things worse.
- Tree roots: Big trees next to your house suck up tons of water, drying soil and sometimes causing it to shrink. As the ground drops, gaps form under your foundation—cue the cracking.
- Construction oops: If the backfill wasn’t compacted well or the concrete mix was off, cracks will show up sooner.
- Temperature swings: Freeze-thaw cycles make concrete expand and contract. Each year, that push and pull adds stress.
Wondering just how common these cracks are? Check this simple table:
| Cause | How Often It Leads To Cracks |
|---|---|
| Soil movement | Very common (nearly all homes with clay soil) |
| Water/drainage issues | Common, especially in wet climates |
| Normal concrete shrinkage | Almost every home in first 2 years |
| Temperature freeze/thaw | Common in northern states |
| Poor construction | Not rare in older homes or DIY jobs |
The bottom line—most foundation crack repair jobs are fixing what weather, soil, and time dish out to your home. The trick is figuring out if you just have a harmless crack or something that needs real fixing. We’ll get there in the next section.
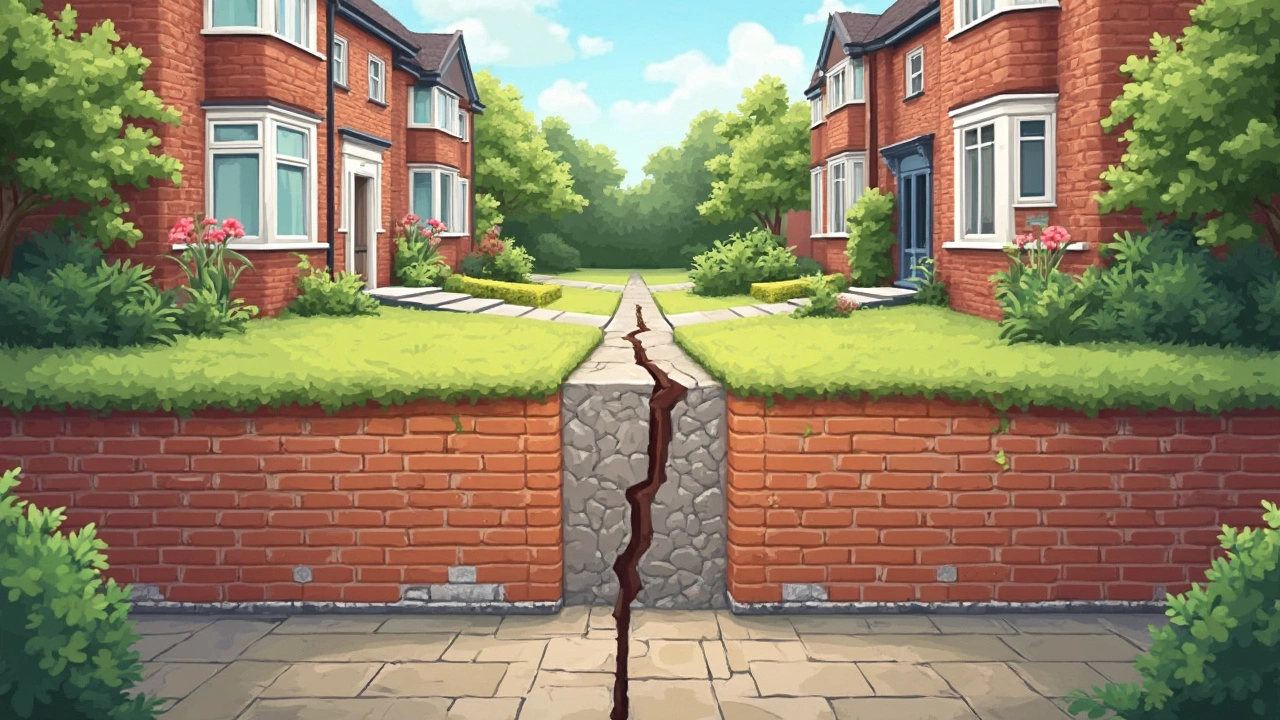
Types of Cracks and What They Mean
Not all foundation cracks are the same. How they look says a lot about what’s going on under your house. Spotting the exact type can help you decide if it’s a quick fix or a sign something’s shifting big time. Here’s a quick guide to the usual suspects:
- Hairline cracks: Thin as a pencil mark, these show up as concrete cures. These are normal and usually not a big deal unless water starts coming through.
- Vertical cracks: These run straight up and down. If they’re less than 1/8-inch wide and not growing, they’re usually from concrete shrinkage or minor settling. Just keep an eye out for changes.
- Horizontal cracks: These are more serious. They often point to pressure from outside soil or water, and could mean the wall is bowing. These demand quick action.
- Diagonal cracks: Usually start near a corner and angle up. Low-severity ones (narrow and stable) often happen because part of the foundation settles faster. Wider or growing diagonal cracks? That’s a red flag.
- Stair-step cracks: These go through the mortar between bricks or blocks in a zigzag shape. If you see this, especially with gaps or shifting, it can signal a settling foundation or moisture messing with the soil.
Here’s a quick cheat sheet with what’s commonly seen and what it likely means:
| Crack Type | Typical Cause | Risk Level |
|---|---|---|
| Hairline | Shrinkage (curing) | Low |
| Vertical | Minor settling | Low, unless growing |
| Diagonal | Differential settling | Medium to high if widening |
| Horizontal | Soil/water pressure | High |
| Stair-step | Foundation movement, soil issues | Medium to high |
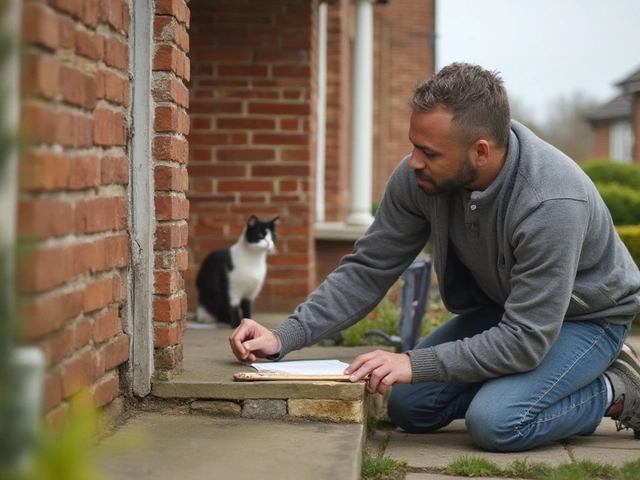
The biggest thing to watch for? Changes. Mark the ends of any crack and check every few weeks. If it gets longer, wider, or new cracks appear, that’s a solid reason to stop DIY fixes and call a pro. And if a crack is leaking water during a storm, don’t wait: moisture plus a foundation crack repair job can turn expensive fast if you let it drag on.

Best Repair Methods (And When To Use Them)
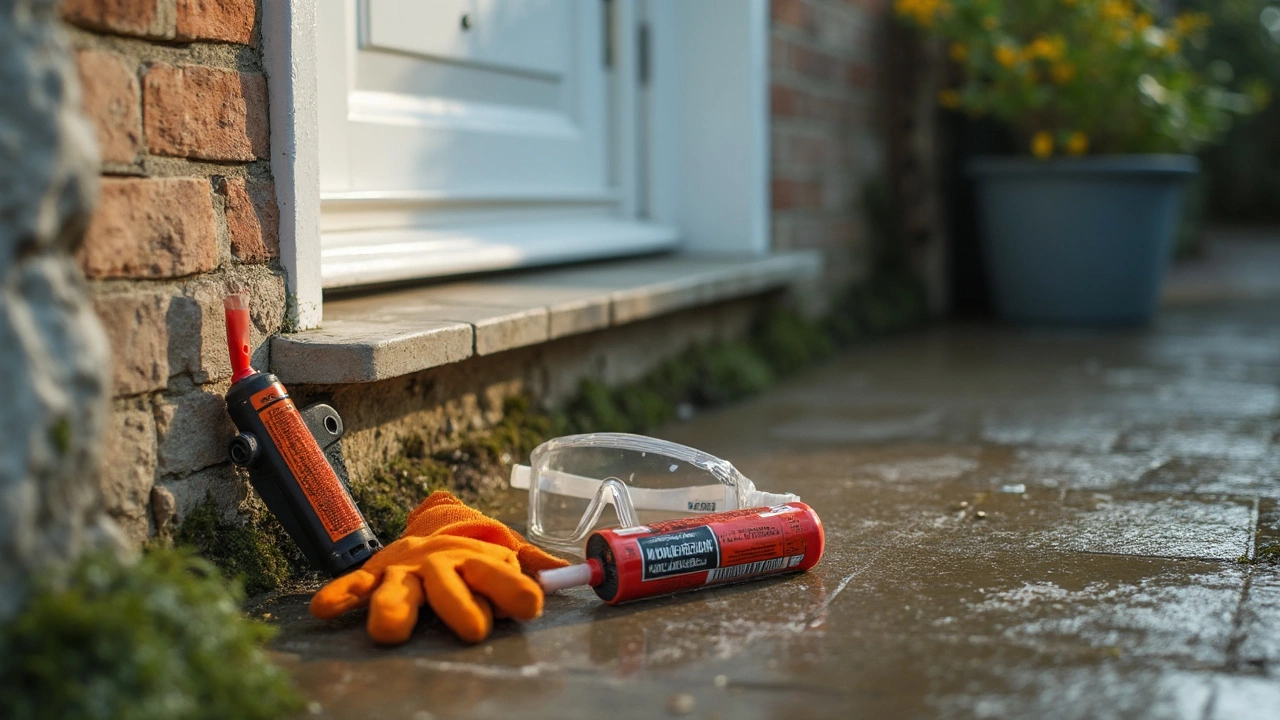
When you spot a crack, picking the right repair method is what really matters. Not every fix works for every crack. Some jobs are perfect for DIY; others, not so much. Here’s what actually gets the job done—and when to use each one.
- Epoxy Injection: This is the go-to for cracks that are less than a quarter-inch wide but go deep. You inject epoxy into the crack. It bonds the concrete together, basically making the wall whole again. This method doesn’t just seal—it restores the strength of the foundation. Great for vertical and diagonal cracks that look like they might go all the way through the wall.
- Polyurethane Foam: If you’ve got water leaking through the crack, polyurethane is your best bet. It reacts with water and expands, filling the gap and keeping things dry. It doesn’t add strength like epoxy but it’s awesome for stopping leaks. Works for both hairline and wider cracks.
- Hydraulic Cement: This works for quick, shallow patches on wider cracks (especially if you spot water, but not constant pressure). It expands as it sets, so it plugs the hole fast. But don’t use it for deep cracks—it won’t hold against real shifts in the foundation.
- Carbon Fiber Straps: If you see cracks that keep growing or you have bowing walls, carbon fiber straps step in to add strength. These go on the surface, glued with epoxy. They’re fast and way less invasive than steel beams, but super tough. Ideal for long cracks and walls under pressure.
- Surface Sealers: For cosmetic-only cracks, stuff like concrete caulk or filler does the trick. Just know, this is for looks only. It won’t add strength or stop leaks.
If you’re wondering what other folks use, here’s a quick look at what works best for specific crack types:
| Crack Type | Best Repair Method | Average Cost (DIY/Pro) |
|---|---|---|
| Hairline (Static, Dry) | Epoxy or Concrete Caulk | $55 / $350 |
| Leaking Vertical/Diagonal | Polyurethane Foam | $60 / $400 |
| Wide, Non-Structural | Hydraulic Cement | $20 / $250 |
| Bowing with Cracks | Carbon Fiber Straps | N/A / $800+ per strap |
Here’s a quick tip: if you see cracks bigger than a pencil or if cracks span across several walls, you’re in “don’t DIY this” territory. That’s usually a sign of a bigger problem like settling, soil issues, or water pressure. In that case, call a pro who deals with foundation crack repair full-time—they’ve got tools and methods you just can’t buy at the hardware store.
DIY vs. Pro: Which Route Makes Sense?
If you spot a crack in your foundation, your first thought might be, "Can I fix this myself or do I need to call in the cavalry?" The answer mostly depends on the crack’s size, location, and whether it leaks water or keeps growing. Let’s break this down so you know exactly when rolling up your sleeves makes sense and when it’s time to call a pro.
If the crack is less than a quarter-inch wide, isn’t leaking, and isn’t getting longer or wider, you’re usually safe to tackle it yourself. Most hardware stores carry polyurethane caulk or specialized epoxy injection kits made for these small jobs. These kits typically cost between $25 and $80, making them way cheaper than professional help. Here’s a rough rundown of common DIY options:
- Concrete patching compound (for minor surface cracks)
- Concrete caulk (good for sealing hairline cracks and keeping water out)
- Epoxy injection kits (bond cracks tight—some are nearly as durable as pro fixes if you prep well)
Just remember, proper prep matters. Clean out any dust or loose debris from the crack. If there’s moisture, dry the area first or it’ll mess with how well the repair holds.
Bigger cracks (wider than a quarter inch), uneven floors, or cracks that keep opening up aren’t “weekend warrior” tasks. Here’s why you might want to pick up the phone:
- Pro repair teams use high-pressure epoxy or polyurethane injection—this fills deep inside the wall, not just the surface.
- They know how to spot sneaky signs of structural settling or water damage you might miss.
- Most pros offer warranties, so if the crack comes back, you’re covered.
Here’s a quick comparison table so you can compare DIY and pro approaches at a glance:
| Method | Cost | When to Use | Success Rate |
|---|---|---|---|
| DIY Patch/Caulk | $25–$80 | Small, dry, stable cracks | ~75% |
| Epoxy Injection Kit | $60–$150 | Thin cracks, no structural risk | ~85% |
| Professional Repair | $400–$1,200+ | Wide, growing, or leaking cracks | 90%–99% |
Bottom line? If you’re dealing with a foundation crack repair job that’s small and stable, DIY isn’t just cheaper—it’s usually enough. But if there’s a bigger risk or you see other weird signs (doors sticking, saggy floors, water leaks), get a pro’s opinion. It’ll save you a ton of stress long term.
Long-Term Tips to Prevent Future Cracks
If you’re tired of patching up cracks every year, it’s time to step back and fix what causes them in the first place. Most foundation drama comes down to water and soil. When you manage those, you dodge a lot of expensive repairs down the road.
- Foundation crack repair starts with proper drainage. Gutters and downspouts should push water at least 5 feet away from your house. Any closer, and the water can seep down, expanding soil and forcing the foundation to move.
- Check soil grading. The ground near your house should slope away—not tilt toward—your foundation. If water pools around your home when it rains, spread some topsoil and rake it out to create a gentle downward slope.
- Don’t plant trees too close to your home. Tree roots can shift soil or even push against your foundation. A good rule? Plant large trees at least 20 feet from the foundation.
- Fix plumbing leaks fast. Even a small drip under your house keeps soil moist and unstable. A licensed plumber can run a camera through your pipes to check for hidden leaks.
- Keep an eye on humidity in crawl spaces or basements. Damp air means condensation, and that invites cracks. A basic dehumidifier can make a huge difference, especially in older homes.
Want some numbers? Here’s what the data says about common factors that mess with foundations:
| Factor | Crack Risk Increase |
|---|---|
| Improper drainage | Up to 75% |
| Poor soil grading | Over 60% |
| Large trees within 10 ft | Nearly double the risk |
| Undetected plumbing leaks | 50% more likely |
None of this stuff costs a fortune, but neglecting it sure can. Walk around your house after it rains and check for puddles or soggy spots. Fix those little issues before they become a foundation headache. A few smart habits will save you a lot of money, mess, and stress over the long run.