Right Angle Method: A Quick Way to Keep Your Build Straight
If you’ve ever stood back and seen a wall that’s a little off, you know how frustrating it can be. The right angle method helps you avoid that problem without fancy tools or lots of math. All you need is a good carpenter’s square, a level, and a bit of common sense.
How the Right Angle Method Works
First, pick a reference point on your foundation or floor slab. Snap a chalk line from that point straight across the area you’re working on. Then, use the square to draw a perfect 90‑degree line from the chalk line. This creates a corner that’s truly square, and you can check every other line against it.
Next, place a level on the new line and make sure it’s truly horizontal or vertical, depending on what you need. If the level reads off, adjust the line until it’s true. Once you have one perfect corner, you can run parallel lines from it to lay out walls, footings, or floor joists. The trick is that every line you draw is referenced back to that first right angle, so errors don’t stack up.
When and Where to Use It
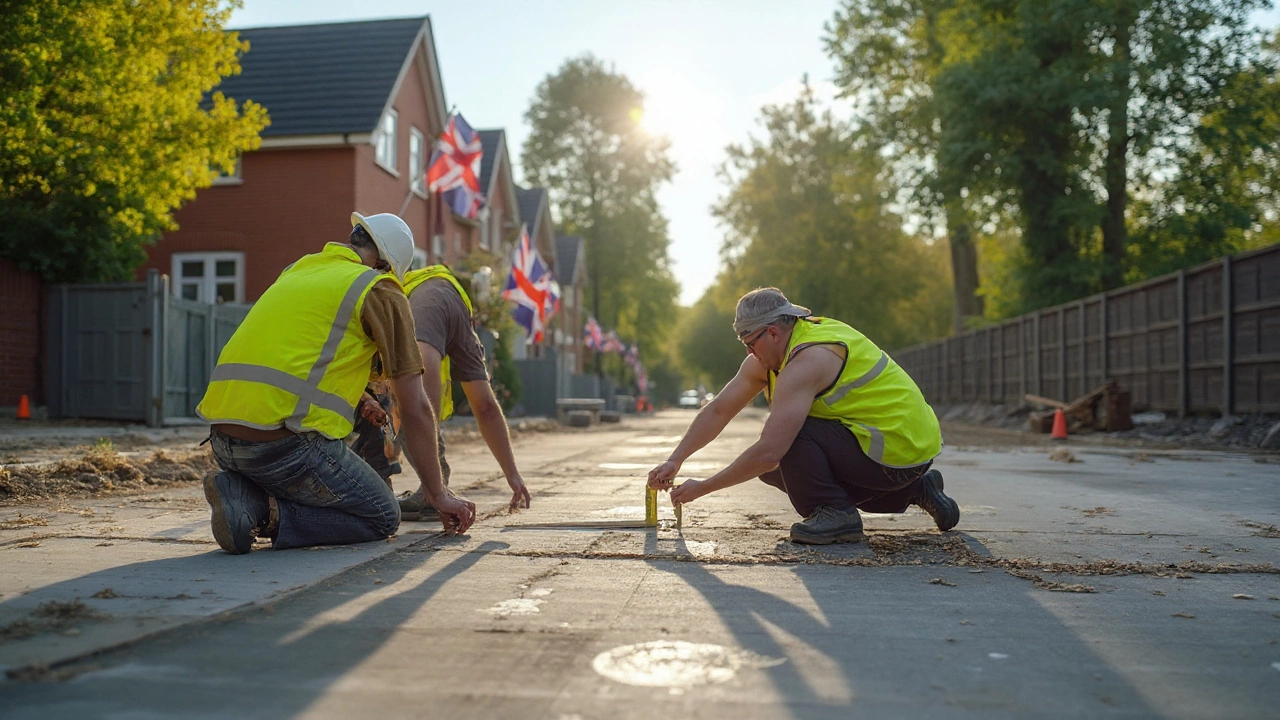
You can use the right angle method at any stage of a build. It’s especially handy when pouring a new concrete slab. Before you start, lay out the corners with the square and then check each corner with a tape measure. If the corners are off, the whole slab will be off, and fixing it later costs a lot.
It also works great for interior walls. After you’ve framed the first wall, run a straight line from the corner to the opposite side. Use the square at each joint to keep doors and windows level. Even when you’re adding a kitchen island or a bathroom vanity, the right angle method ensures everything lines up and looks tidy.
One common mistake is trying to rely on just one measurement. Always double‑check with both the square and the level. If the ground is uneven, you might need to shim the square or use a laser level as a backup. The point is to keep checking, not to assume the first mark is perfect.
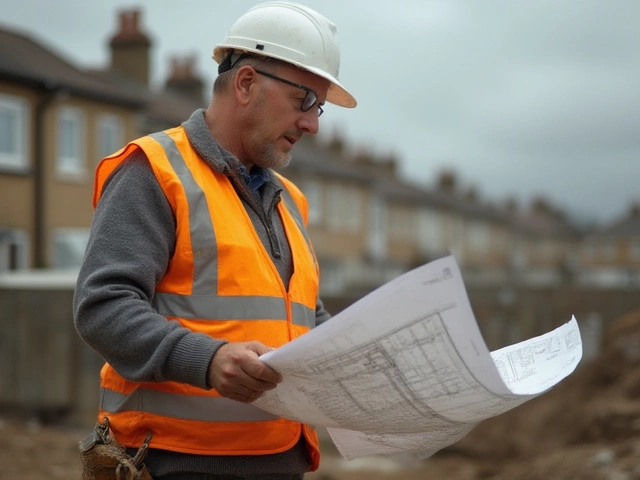
Why does this matter for Lime Hillock customers? Our limestone blocks and aggregates are cut to exact sizes, but they only perform well if they’re installed on a truly square base. Using the right angle method means less waste, fewer adjustments, and a stronger finished product.
Here’s a quick checklist you can print out:
- Choose a solid reference point.
- Snap a chalk line straight across the space.
- Use a carpenter’s square to create a 90‑degree corner.
- Check the line with a level.
- Run all other lines from the verified corner.
Give it a try on your next project. You’ll notice the walls are plumb, the floors are even, and you avoid costly rework. The right angle method isn’t just a trick – it’s a habit that makes any construction job smoother and more reliable.
345 Rule Explained: The Simple Key to Strong Residential Foundation Design
Discover what the 345 rule means in construction, why it's used for foundation work, and how to use it. Simple tips and common mistakes made easy.
read more