Foundation Crack Assessment Tool
Assess Your Foundation Crack
This tool helps you determine if your foundation crack is suitable for DIY repair or requires professional assistance.
Cracks in your basement walls. Doors that stick for no reason. Floors that slope like a ski hill. These aren’t just annoyances-they’re signs your foundation is failing. And if you’re reading this, you’re probably wondering: Can I fix this myself? The short answer? Sometimes. But only if you know what you’re doing.
What’s Really Going On With Your Foundation?
Most foundation problems in homes built after 1980 come down to three things: water, soil, and time. In Halifax, where the ground freezes hard in winter and thaws unevenly in spring, water is the biggest enemy. Clay soils swell when wet and shrink when dry. That movement pushes against your foundation. Over years, that pushes cracks open, walls bow, and slabs settle. You don’t need a degree in geotechnical engineering to spot the red flags:- Vertical cracks wider than 1/4 inch in concrete walls
- Horizontal cracks-these are serious, often caused by soil pressure
- Stair-step cracks in brick or block walls
- Doors or windows that won’t close properly
- Gaps between walls and floors, or floors that feel spongy
When DIY Foundation Repair Works (And When It Doesn’t)
Not all foundation problems are fixable by a homeowner. Here’s the line: DIY-friendly:- Small hairline cracks (less than 1/8 inch) in poured concrete
- Minor settling in a slab foundation that hasn’t worsened in 2+ years
- Water seepage caused by poor grading or clogged gutters
- Cracks wider than 1/2 inch
- Bowing walls more than 1 inch inward
- Signs of structural failure-like large gaps between walls and ceilings
- Foundations on sloped land or near waterways
Step-by-Step: Fixing Small Cracks in Concrete Foundations
Let’s say you’ve got a few narrow vertical cracks. No water leaking through yet. Here’s how to seal them properly. What you’ll need:- Wire brush or angle grinder with wire wheel
- Shop vacuum
- Concrete crack repair kit (polyurethane or epoxy injection)
- Hydraulic cement (for active leaks)
- Paintbrush or caulk gun
- Safety glasses and gloves
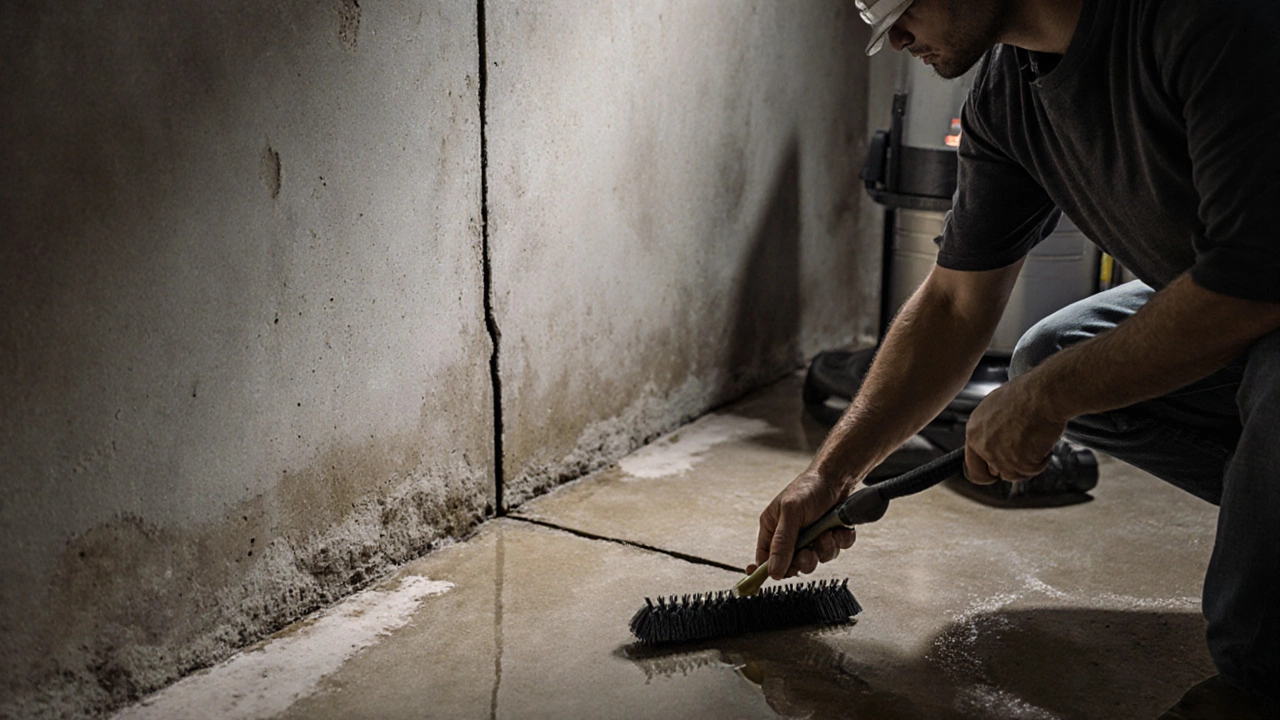
- Clear the area. Remove dirt, paint, or loose concrete around the crack with the wire brush.
- Clean it out. Use the shop vacuum to suck out all dust and debris. Wet the crack lightly with water-this helps the sealant bond better.
- For dry cracks: Use an epoxy injection kit. These come with syringes and cartridges. Inject the epoxy slowly from the bottom up. Let it cure 24-48 hours.
- For weeping cracks (water seeping through): Use hydraulic cement. Mix it per instructions-it sets fast, in under 5 minutes. Pack it tightly into the crack with a trowel or putty knife. Smooth it flush with the wall.
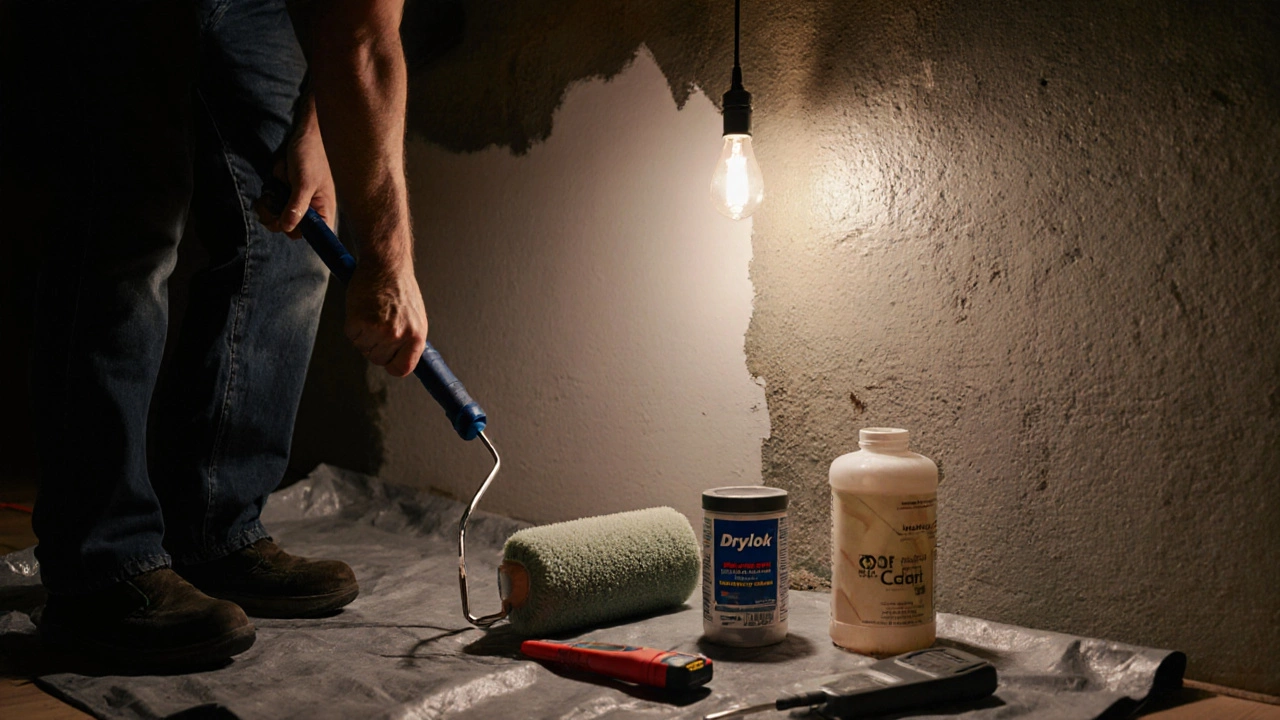
- Seal the surface. Once the repair has cured, apply a waterproofing coating like Drylok to the whole wall. One coat isn’t enough. Two coats, applied 24 hours apart, make a real difference.
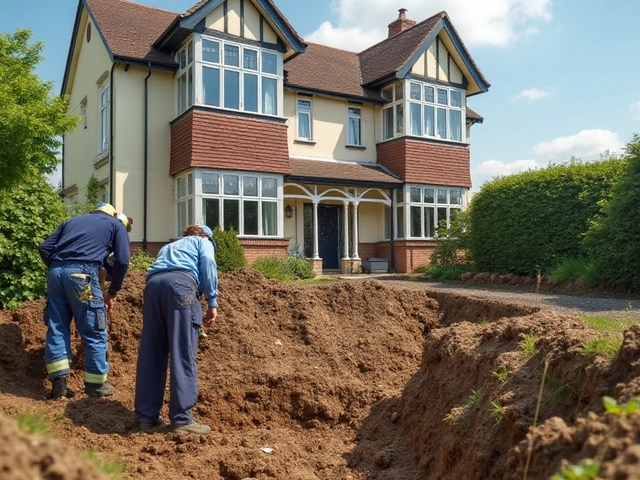
Fixing Drainage-The Real Root Cause
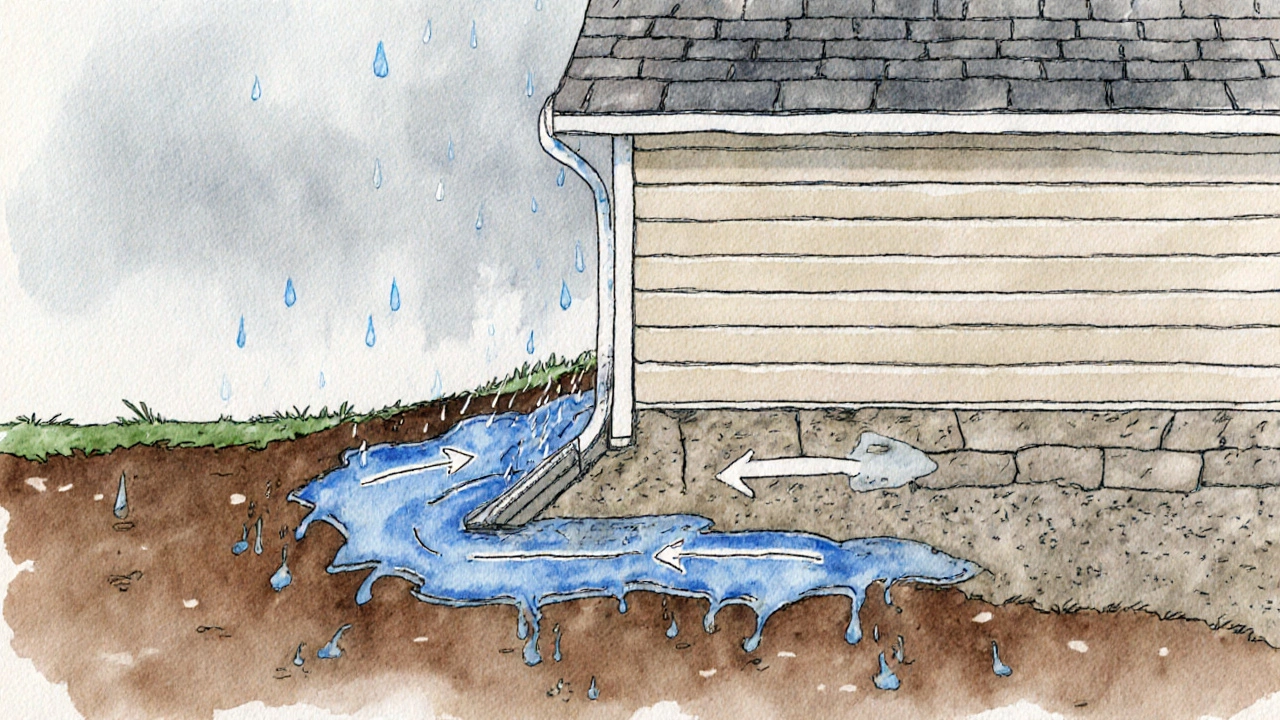
Most foundation problems aren’t about the concrete. They’re about water. If you’re not solving the water, you’re just painting over the problem. In Halifax, rain and snowmelt are constant. Your foundation is surrounded by soil that acts like a sponge. If that sponge isn’t draining away, it’s pushing against your walls. Check these 3 things:- Gutters and downspouts: Are they clogged? Do they dump water right next to your foundation? Extend downspouts at least 6 feet away from the house. Use splash blocks or buried PVC pipes to carry water farther.
- Ground slope: The soil around your house should slope away from the foundation. At least 1 inch per foot for the first 6 feet. If it’s flat or sloping toward the house, regrade it. Remove topsoil, add gravel, then replace with new topsoil. Compact it as you go.
- French drains: If your yard is flat or you get heavy rain, consider installing a perimeter French drain. This isn’t a weekend project-it takes a week and a backhoe. But if you’ve got recurring water issues, it’s the most effective fix you can do.
Preventing Future Problems
Once you’ve fixed the cracks and improved drainage, don’t stop. Foundation health is ongoing.- Inspect your foundation twice a year-spring and fall. Look for new cracks or moisture.
- Keep trees and large shrubs at least 10 feet from the foundation. Their roots suck moisture out of the soil, causing it to shrink and settle.
- Don’t store heavy items like firewood or garden tools against the foundation wall. That adds pressure.
- Check your sump pump every 3 months. If you have one, make sure the discharge line isn’t frozen or blocked in winter.
Common DIY Mistakes to Avoid
I’ve seen too many people make these mistakes-and end up spending more fixing their mistakes than they would’ve paid a pro.- Using regular caulk or silicone. These aren’t designed for foundation movement. They crack and peel within months.
- Painting over cracks. That hides the problem. You’re not fixing it-you’re delaying it.
- Ignoring the inside. If you only fix the outside, water can still seep in through the walls. Always treat both sides.
- Not testing for moisture first. Use a moisture meter ($30 at Home Depot) before sealing. If the wall is still damp, wait. Seal it too soon, and you trap moisture inside.
When to Call a Professional
You don’t have to be an expert to know when you’re out of your depth. Here’s when to call in help:- Cracks are getting wider or longer over time
- Walls are visibly bowing inward
- More than one room has sloping floors
- You see mold or mildew inside the basement
- There’s water pooling in the basement after every rain
Final Thoughts: Is DIY Worth It?
Fixing small foundation cracks yourself? Yes, if you’re patient, careful, and honest about your skills. It’s not glamorous, but it’s doable. And if you catch it early, you can stop a $15,000 problem from becoming a $40,000 one. But if your foundation is shifting, cracking badly, or letting water in-don’t gamble. A weak foundation doesn’t just hurt your wallet. It puts your home’s safety at risk. The best foundation repair? The one you prevent before it starts.Can I use epoxy to fix a foundation crack myself?
Yes, but only for dry, non-moving cracks under 1/4 inch wide. Epoxy is strong and bonds well to concrete, but it won’t flex if the foundation keeps shifting. For active cracks that are still opening, use polyurethane injection instead-it’s flexible and expands to fill gaps. Always clean the crack thoroughly before injecting, and follow the kit’s instructions exactly.
How do I know if my foundation crack is serious?
A crack is serious if it’s wider than 1/4 inch, horizontal (not vertical), or getting bigger over time. Cracks that run diagonally like stairs in brick walls often mean the foundation is settling unevenly. If you can fit a credit card into the crack, or if doors and windows won’t close properly, it’s time to get a professional opinion. Don’t wait for it to get worse.
Is hydraulic cement better than epoxy for foundation repairs?
It depends on the problem. Hydraulic cement is best for active leaks-places where water is still seeping through. It sets fast and expands under water, sealing the leak immediately. Epoxy is better for dry cracks that need structural strength. It bonds the concrete back together but won’t handle ongoing moisture. Use hydraulic cement for leaks, epoxy for stability.
How often should I check my foundation for damage?
Check your foundation at least twice a year-once in early spring after the freeze-thaw cycle, and again in late fall before winter hits. Look for new cracks, moisture stains, or gaps between walls and floors. Take photos each time so you can compare changes over the years. If you notice anything new or growing, investigate right away.
Can poor drainage cause foundation damage even if my house is new?
Absolutely. Even brand-new homes can have foundation problems if the grading around the house is wrong. In Halifax, heavy rains and snowmelt mean water can pool against your foundation within months if downspouts aren’t extended or the soil slopes toward the house. Builders often prioritize curb appeal over drainage. Always verify that water flows away from your foundation, no matter how new your home is.