When you step into a new build is a recently constructed house that hasn’t been lived in or fully finished, the first thing you might wonder is whether you can start painting straight away. The short answer is yes-if you follow a few critical steps. This guide walks you through the timing, prep, product choices, and pitfalls so you can get a flawless finish without voiding warranties or battling moisture issues.
Key Takeaways
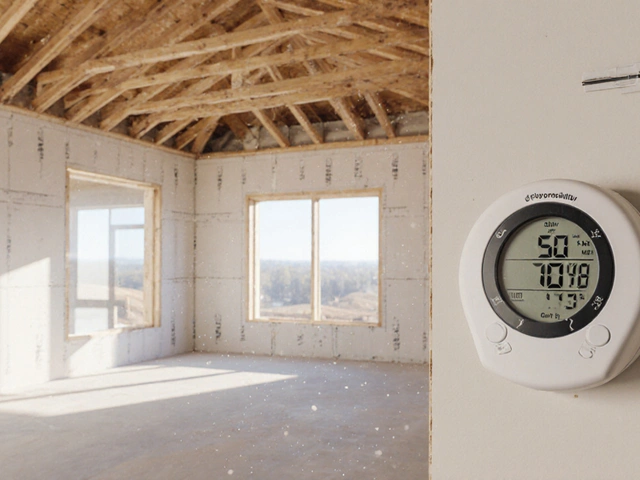
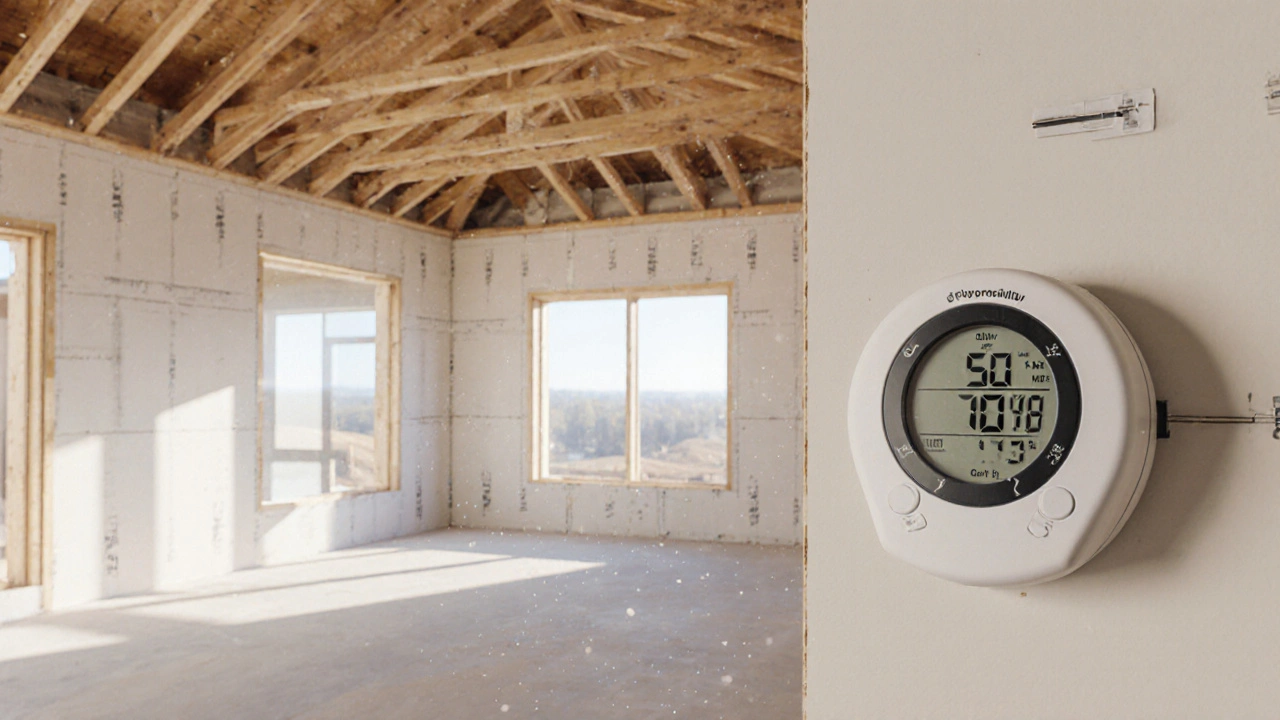
- Wait until the building’s internal humidity drops below 50% before applying paint.
- Prime all drywall, plaster, or wood surfaces to seal moisture and improve adhesion.
- Choose low‑VOC, moisture‑resistant paints for the best long‑term performance.
- Follow a systematic surface‑prep checklist to avoid peeling or cracking later.
- Check your builder’s warranty clauses before you start; most allow painting after a 30‑day cure period.
Is Painting a New Build Allowed?
Legally, there’s nothing stopping you from painting a brand‑new house. The real question is whether the structure is ready. Builders often apply a temporary “settle‑coat” of paint or primer just to protect walls during construction, but that layer isn’t meant for a final finish. The key factor is moisture-both from the concrete slab and from the drywall joint compound (also called mud). If you paint while the substrate still contains excess water, the paint will trap moisture, leading to blistering, peeling, or mold growth.
Most Canadian building codes, including the National Building Code of Canada, require a drywall moisture content of less than 16% before finishing surfaces can be painted. This typically translates to a waiting period of 30‑90 days, depending on climate, ventilation, and how quickly the building settles.
Best Time to Paint: Moisture, Curing, and Climate
Timing is everything. Paint applied too early will look great for a week, then start to sag or bubble as the walls dry out. Below is a quick comparison of three common waiting windows used by homeowners and contractors:
| Waiting Period | Typical Moisture Level | Pros | Cons |
|---|---|---|---|
| 30days | ≈18‑20% (still a bit high) | Quick move‑in, saves time | Higher risk of paint failure, may need touch‑ups |
| 60days | ≈14‑16% (within code limits) | Balanced approach, lower risk | Requires more patience, may delay décor decisions |
| 90days | ≤12% (optimal) | Maximum durability, least chance of moisture‑related issues | Longest wait, may affect project timeline |
In Halifax’s maritime climate, humidity can stay high well into the spring. If you’re finishing a winter‑built home, leaning toward the 60‑ or 90‑day window is usually safer.
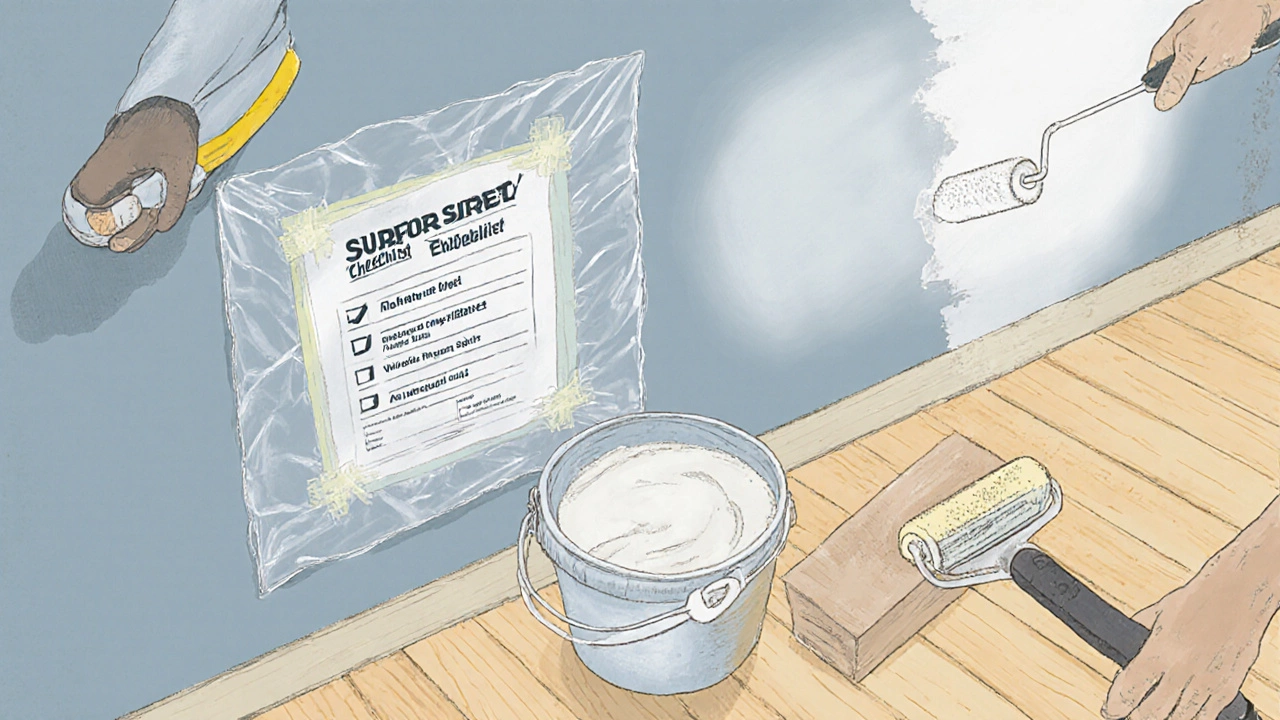
Surface Preparation: The Checklist That Saves You Money
Skipping prep is the fastest way to regret your paint job. Follow this step‑by‑step checklist before you even open a can:
- Test for moisture. Use a calibrated hygrometer or a simple plastic sheet test: tape a 2‑ft square of clear plastic to the wall, leave for 24hours. If condensation forms, wait longer.
- Repair imperfections. Fill nail holes, cracks, or joint‑compound seams with a quality drywall joint compound. Sand smooth once dry.
- Clean the surface. Wipe walls with a damp cloth and a mild detergent to remove dust, construction debris, or leftover paint splatter. Let dry completely.
- Prime every surface. Apply a primer is a preparatory coat that seals porous material and improves adhesion. For drywall, a water‑based primer with a sealing formula works well; for fresh plaster, choose a plaster‑specific primer.
- Sand the primer. Once the primer is dry, lightly sand with 220‑grit paper to create a uniform “tooth.” Wipe away dust.
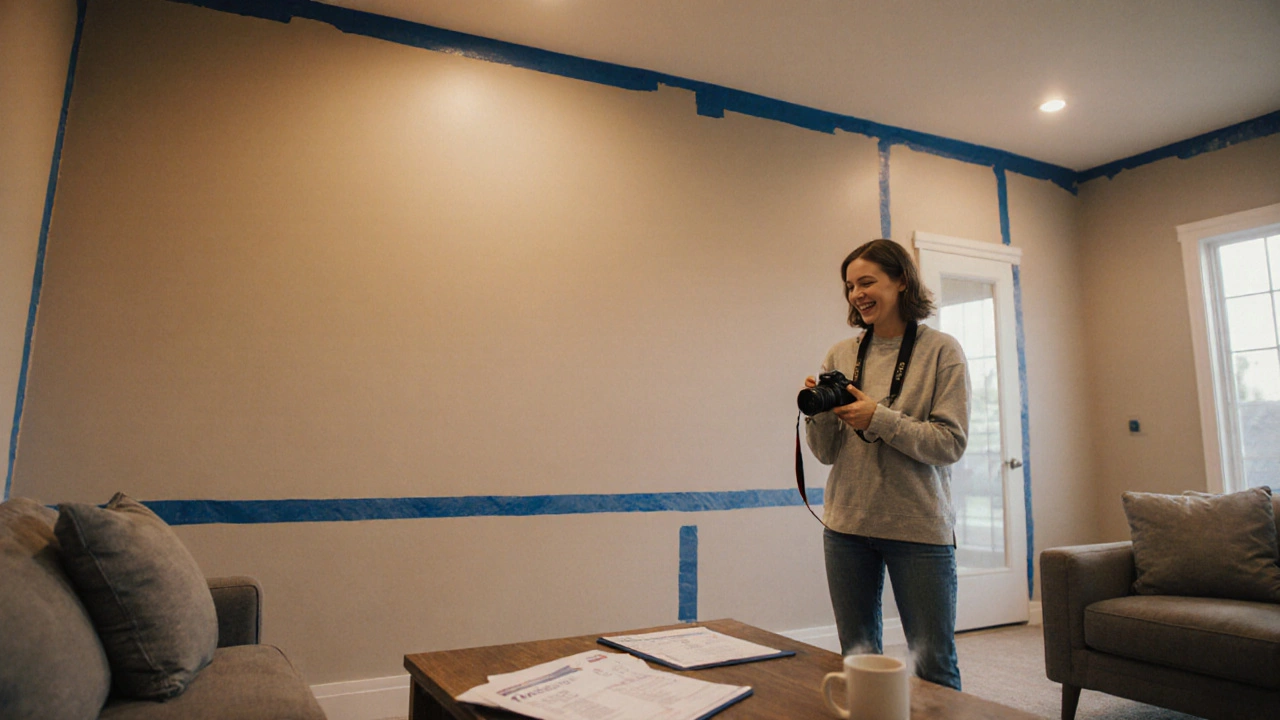
- Mask and tape. Protect trim, windows, and outlets with painter’s tape and drop cloths. This prevents accidental splatters and gives you crisp lines.
Completing these steps might feel labor‑intensive, but they dramatically reduce the chance of future repairs.
Choosing the Right Paint: Low‑VOC, Moisture‑Resistant, and Color‑Fast
Not all paints are created equal, especially for a new build that’s still “breathing.” Here’s what to look for:
- Low‑VOC formulations. Volatile organic compounds can off‑gas for months, affecting indoor air quality. In Canada, look for paints labeled ≤50g/L VOC.
- Moisture‑resistant acrylics. Acrylic‑based interior paints have better elasticity, allowing the wall to expand and contract without cracking.
- High coverage. A paint rated 12m² per litre will need fewer coats, saving time and money.
- Washability. If you have kids or pets, a washable finish (often labeled “scrubbable”) will hold up to cleaning.
For exteriors of a new build, a silicone‑based or elastomeric paint adds an extra layer of protection against the harsh Atlantic weather.
Common Mistakes & How to Avoid Them
Even seasoned DIYers slip up. Below are the most frequent errors and quick fixes:
| Mistake | Why It Happens | Solution |
|---|---|---|
| Painting over damp walls | Rushing to finish | Run a moisture test; wait until levels are under 50% RH. |
| Skipping primer | Wanting fewer steps | Apply a quality primer; it seals the substrate and improves color fidelity. |
| Using oil‑based paint indoors | Preference for sheen | Switch to low‑VOC water‑based acrylics for safer indoor air. |
| Neglecting ventilation | Closed‑up renovation zones | Run fans and open windows for at least 24hours after each coat. |
Address these before they become costly rework.
Warranty, Builder Agreements, and Documentation
Most builders include a one‑year or two‑year finish warranty that covers defects like cracking or peeling paint. However, the warranty often has a clause stating that any “substantive finishing work” performed by the homeowner before a specified date will void the coverage. Before you buy your first can of paint, pull out the contract and look for language such as “owner‑initiated paint work prior to 60days after substantial completion voids the finish warranty.”
If you’re unsure, call the builder’s warranty department and ask for written confirmation. Keep a photo log of each prep step, primer coat, and final paint coat-this can serve as evidence that you followed best practices should a claim arise.
Step‑by‑Step Quick Reference
- Check humidity - target < 50% RH.
- Repair and sand walls.
- Clean surfaces thoroughly.
- Apply a sealing primer.
- Sand primer lightly.
- Paint with low‑VOC, moisture‑resistant acrylic.
- Allow 2‑hour dry time between coats; ventilate.
- Document each step for warranty protection.
Follow this flow, and you’ll end up with walls that look great and stay solid for years.
Frequently Asked Questions
How long should I wait after moving in before I paint?
Even after you move in, the building continues to off‑gas and settle. Aim for at least 60days of low indoor humidity before applying paint. If you can test the walls and they read under 16% moisture, you’re safe to go ahead.
Can I use oil‑based paint on new drywall?
It’s not recommended. Oil‑based paints dry slower, trap more moisture, and release higher VOCs. Water‑based acrylics give better flexibility and air quality for a fresh build.
Do I need to sand the primer before applying the topcoat?
A light sand with 220‑grit paper removes brush marks and creates a smooth surface for the final paint. Skip heavy sanding, which can remove the primer’s sealing layer.
Will painting too early void my builder’s warranty?
Most warranties include a clause that owner‑initiated painting within the first 30‑60days voids the finish warranty. Review your contract and get written confirmation before you start.
Is low‑VOC paint really worth the extra cost?
Yes, especially in a new build where walls are still “breathing.” Low‑VOC paints reduce off‑gassing, improve indoor air quality, and comply with Canadian environmental standards.