Remodeling Sequence: Your Step‑by‑Step Renovation Roadmap
Planning a remodel feels like juggling a dozen projects at once. The trick isn’t doing everything at once, but doing it in the right order. Follow this simple sequence and you’ll cut waste, keep trades happy, and finish on schedule.
Plan Your Foundation and Structural Work First
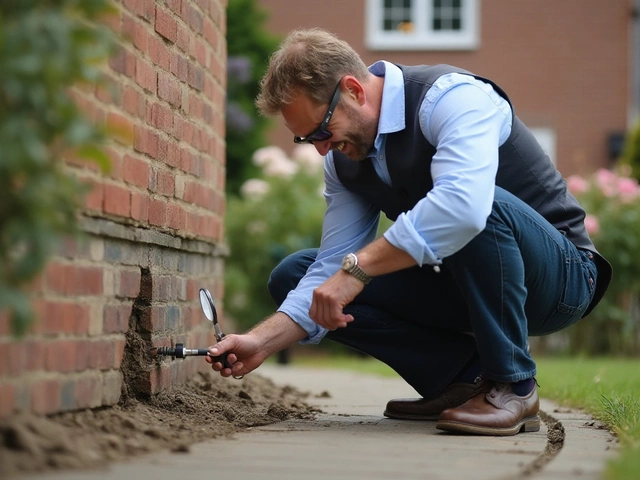
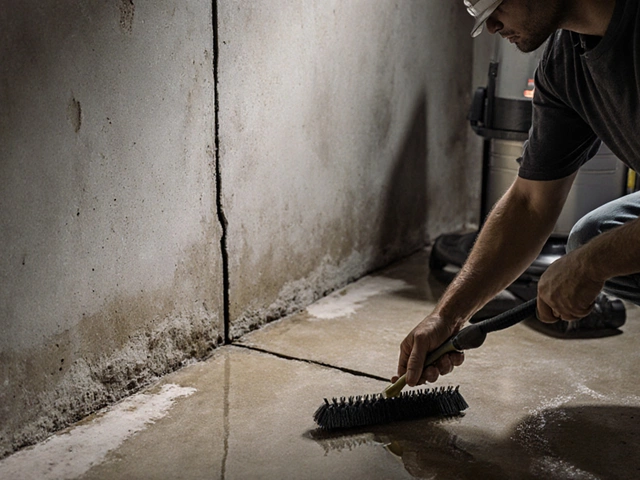
Everything rests on a solid base. Start with a foundation inspection – look for cracks, settlement signs, or water intrusion. If the house has moved after 20 years, you might need to address soil issues before anything else. Articles like “Can a Foundation Be Unfixable?” and the “345 Rule Explained” show how to measure and design a stable base. Fixing a cracked foundation early saves you from costly rework later.
Once the foundation is cleared, move to any structural changes. This includes wall removals, adding new load‑bearing beams, or changing the floor layout. Doing these before interior work prevents you from having to rip out drywall, flooring, or cabinets later.
Rough‑In the Services and Dry Fit the Interior
With the structure set, run the rough‑in for plumbing, electrical, and HVAC. This stage is where you install pipe chases, wire conduits, and ductwork. It’s the perfect time to double‑check that your drainage plan will keep the foundation dry – a common cause of future cracks.
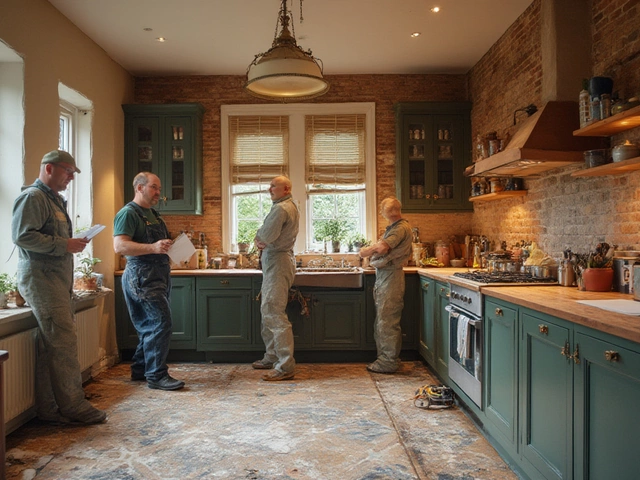
Next comes the dry fit of kitchens and bathrooms. A dry fit means you’ll place cabinets, countertops, and appliances without final fixing. The “Dry Fit Kitchen” guide walks you through checking clearances, cabinet door swing, and countertop layout before the final install. A dry fit helps catch mistakes early, saving you from pricey re‑cuts.
Choose and Install Flooring and Finishes
Now the floors get attention. Pick a flooring type that suits the room’s moisture level – tile for bathrooms, engineered wood for living areas, or resilient vinyl for high‑traffic spaces. The “Best Flooring Choices for New Builds” post breaks down durability and cost, making the decision easier.
After the subfloor is ready, lay down the chosen material. Install it before the final kitchen or bathroom fixtures so you can trim around them easily. This order also keeps the work area clean – no dust on fresh paint.
Finish the Kitchen, Bathroom, and Final Touches
With the floor set, you can finally fit the kitchen cabinets, countertops, and appliances. Follow the steps from the kitchen fitting cost guide to avoid surprise fees. Then move to the bathroom: install tubs, toilets, and tiles now that the floor is stable and dry.
Finally, add paint, trim, and lighting. These last touches make the space feel finished and protect the work you’ve already done. A fresh coat of paint after all the dust settles ensures a clean look.
Sticking to this remodeling sequence – foundation, structural work, services rough‑in, dry fit, flooring, then finishes – keeps the project moving smoothly and helps you stay within budget. Ready to start? Grab a checklist, talk to a structural engineer early, and keep each trade on its designated step. You’ll finish with a home that feels solid, looks great, and won’t need a redo next year.
Remodeling Order: Step-by-Step Guide to a Smooth Renovation

Remodeling a home without a plan can end in chaos and wasted money. This article breaks down the smartest order for tackling a remodel, helping you avoid common mistakes and keep your sanity. Learn why some steps must come before others and get practical tips to prevent headaches down the road. Discover what work should start first, what can run in parallel, and when it finally makes sense to paint. No jargon, just clear advice from someone who's been through it.
read more