Refurbishments Made Simple: What Every Homeowner Should Know
If you’ve ever stared at a cracked wall or an outdated kitchen, you know refurbishments can feel overwhelming. The good news? You don’t need a degree in construction to tackle most jobs. In this guide we break down the biggest areas—foundations, roofs, kitchens, and bathrooms—so you can decide when to DIY and when to call a pro.
Fixing Foundations and Roofs
Foundation cracks are the first sign that something’s off. Small hairline cracks often come from normal settling, but wide gaps, water seepage, or doors that stick usually mean a deeper issue. If you spot water pooling near the base, start by improving drainage: add a French drain, re‑grade the soil, and make sure downspouts direct water away.
For bigger problems, like a sagging slab or major movement, bring in a structural engineer. Their assessment will tell you if a simple epoxy injection will hold or if you need a full underpinning job. Remember, fixing the cause is cheaper than waiting for the house to shift further.
Roof repairs follow a similar rule‑of‑thumb. Leaks that appear after a storm often point to damaged flashing or broken tiles. Patch small areas yourself with roofing cement, but if the roof is more than 20 years old or shows widespread wear, a replacement is likely the smartest move. When budgeting, factor in roofing material cost, removal fees, and labor—most contractors charge per square (a 100‑sq‑ft unit), and prices can jump based on pitch and material type.
Kitchen and Bathroom Upgrades
The kitchen is the heart of a home, so a dry‑fit before final installation can save you from costly mistakes. A dry fit means you lay out cabinets, appliances, and plumbing rough‑ins to see how everything fits. It helps you spot conflicts early, avoid re‑work, and keep the project on schedule.
When planning a bathroom remodel, timing matters. Most experts say the best months are late spring to early autumn—weather is mild, contractors have more availability, and you avoid winter delays. Budget for fixtures, tile, and a small contingency for hidden issues like outdated wiring.
Both kitchen and bathroom projects benefit from a clear checklist: list every item (cabinets, countertops, fixtures), decide what you’ll DIY (e.g., painting, minor tiling) and what requires a professional (plumbing, electrical). This keeps costs transparent and prevents surprise bills.
Beyond these big tickets, smaller refurbishments—like adding new flooring or fresh paint—can boost a home’s value fast. Choose durable flooring such as engineered wood or luxury vinyl for new builds; they stand up to wear and are easier to install.
Finally, always ask your supplier about material warranties and delivery options. At Lime Hillock Construction Material Resources we provide locally sourced limestone, sand, and aggregates that meet UK building standards, and our team can help you pick the right product for each part of your refurbishment.
Whether you’re fixing a tiny crack or planning a full‑house overhaul, the key is to start with a solid assessment, set a realistic budget, and know your limits. With the right plan, refurbishments become a series of manageable steps, not a mountain you can’t climb.
Best Steps for Renovating Your Bathroom
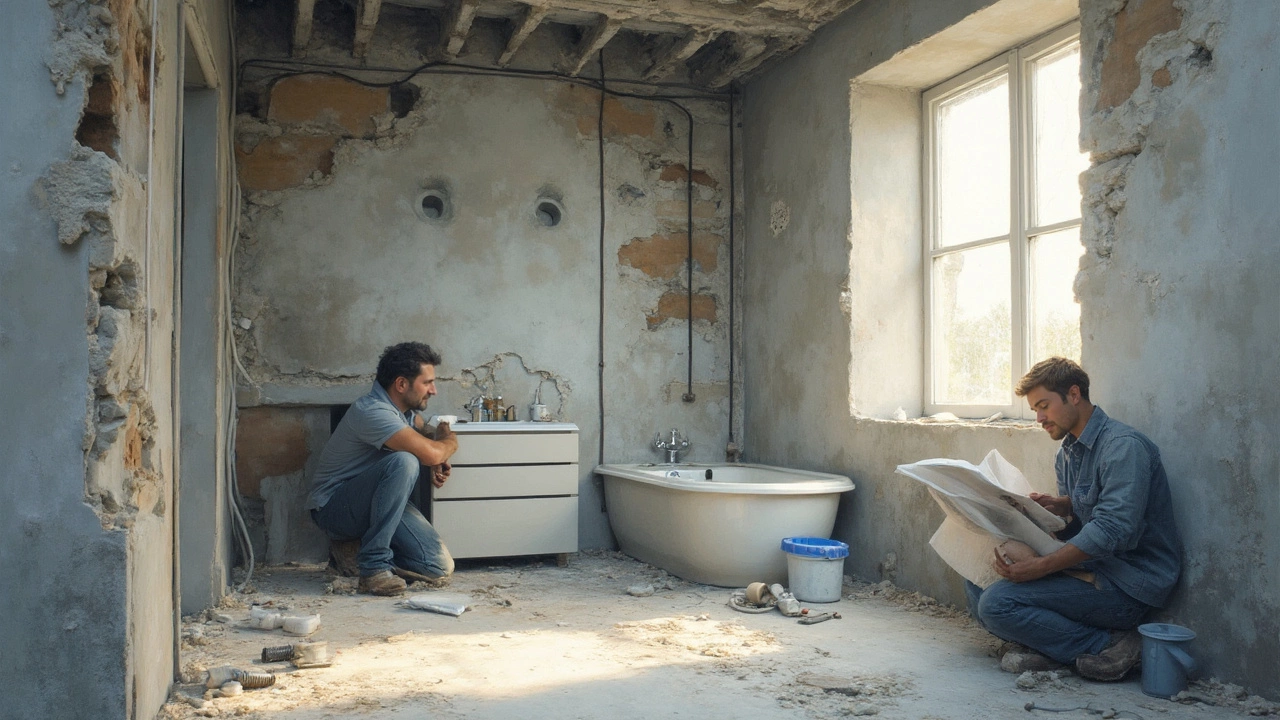
Renovating a bathroom can be a daunting task, but with a clear plan and order, it becomes manageable. The process involves deciding what to tackle first, from demolishing old fixtures to the final touches. Knowing the right sequence not only saves time and money but also reduces stress. This article takes you through the step-by-step order for a smooth and successful bathroom renovation.
read more