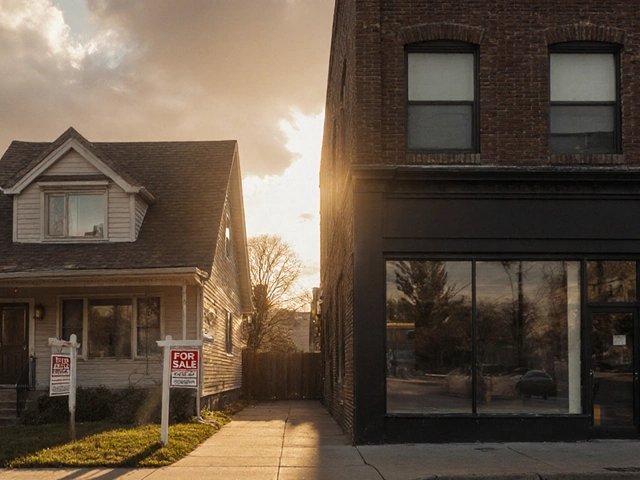
Expensive Loft Elements – What Drives the Cost and How to Choose Wisely
If you’re turning a dusty attic into a living space, you’ve probably seen price tags that make you blink. Some loft items feel like a small luxury car cost, not a home upgrade. Knowing why those pieces cost a lot helps you decide if they’re worth the splurge or if there’s a cheaper but still solid option.
First off, loft work deals with limited headroom, awkward angles, and the need to keep the structure safe. Anything that adds strength, improves insulation, or brings in natural light tends to carry a premium. Below we break down the most expensive components you’ll run into.
Top pricey loft components
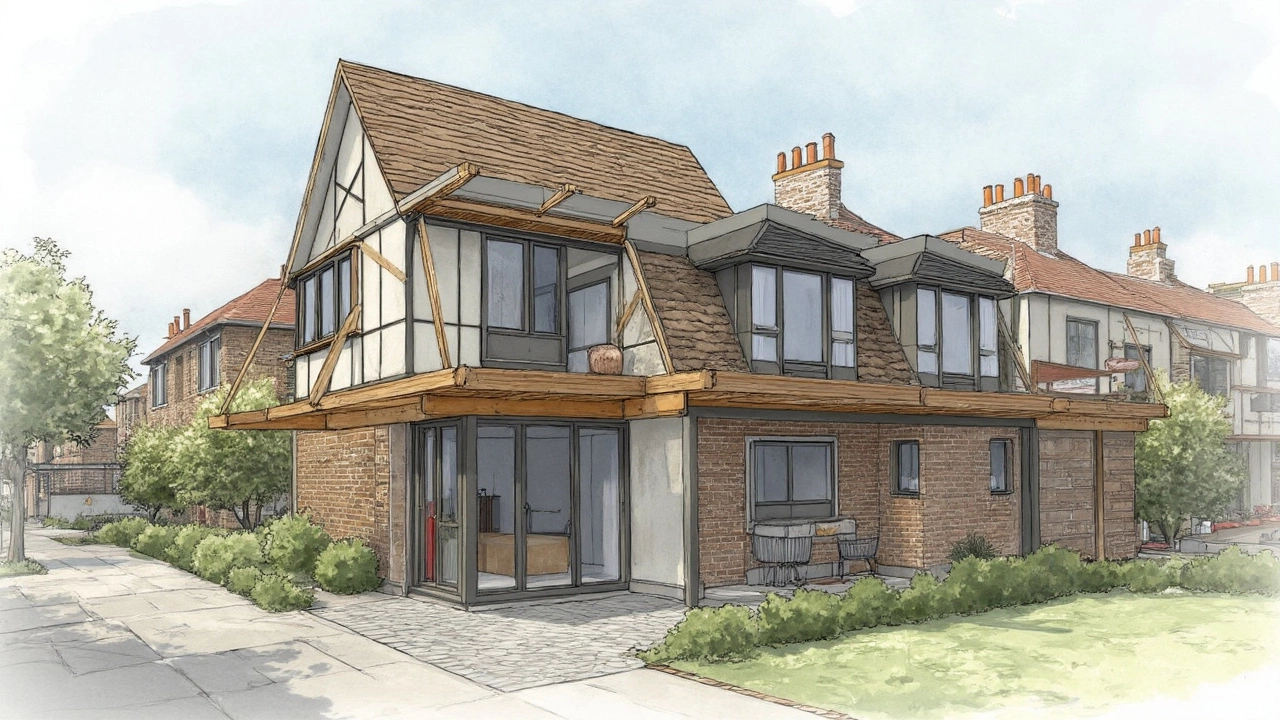
Structural timber and joists – When you raise a floor, you need heavy‑duty timber or engineered beams that can bear weight for years. High‑grade oak or steel‑reinforced beams cost more because they’re stronger and last longer. Skipping quality here can lead to sagging or, worse, safety issues.
Insulation – Loft spaces are the biggest heat loss spot in a house. Premium insulation like spray‑foam or high‑R‑value rigid boards adds up quickly. They’re pricey, but they cut heating bills and keep moisture out, which protects the timber.
Windows and skylights – Large, double‑glazed windows or custom skylights bring daylight and make the loft feel spacious. Low‑emissivity glass and sturdy framing push the price up, but you avoid the dark, damp attic vibe.
Stairs and landing – A well‑built staircase is a safety requirement and a design statement. Custom wood or floating steel stairs with handrails are much more costly than a basic prefab kit.
Floor finishes – High‑end hardwood, engineered parquet, or heated flooring can turn a loft into a luxury retreat. These finishes need a smooth, level sub‑floor plus a skilled installer, which drives the cost.
Lighting and electrical – Recessed LED strips, smart dimmers, or designer pendant lights add style and functionality. Running new circuits in a cramped roof space requires careful planning and can be pricey.
Tips to keep costs in check
Now that you know where the money goes, here are practical ways to stay in control:
1. Prioritise essentials. Start with structural support, insulation, and safe stairs. Luxury finishes can come later as the budget allows.
2. Source locally. Quarries and timber yards near you often have lower delivery fees. Ask for surplus or off‑cut material that’s still high quality but cheaper.
3. Consider alternatives. Instead of full‑height double‑glazed windows, try insulated window panels or high‑performance roofing slates that let light in without the full cost.
4. DIY where possible. Simple tasks like wall plastering or fitting laminate flooring can be done yourself if you’re handy. Save the skilled trades for the structural and electrical bits.
5. Get multiple quotes. A single quote can hide hidden fees. Compare at least three contractors, ask for a detailed breakdown, and negotiate on non‑essential items.
6. Plan for future upgrades. Install wiring or conduit now so you can add smart lighting later without tearing walls again.
By focusing on what truly adds value—strong structure, good insulation, and safe access—you can avoid turning your loft dream into a budget nightmare. The expensive elements become worthwhile only when they improve safety, comfort, or resale value. Choose wisely, and your loft will feel like a premium space without breaking the bank.
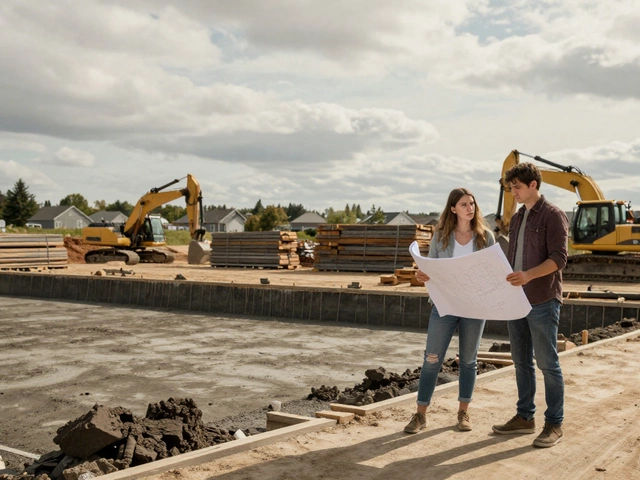
The Priciest Part of a Loft Conversion Revealed
Ever wondered what's the most expensive part of a loft conversion? We dive deep into the key cost drivers, with a focus on structural changes, securing access, and ensuring your new space meets building regulations. Whether you're transforming your attic into a cozy bedroom or a chill-out zone, knowing where your money goes can help you budget smarter. This guide is packed with tips for managing expenses without skimping on quality.
read more