DIY Bathroom Renovation: Simple Steps for a Fresh Look
Thinking about giving your bathroom a new look without hiring a pro? You can do it yourself with a clear plan, the right tools, and a bit of patience. Below you’ll find practical advice that takes you from budgeting to the final polish, so you avoid costly mistakes and finish with a space you’re proud of.
Plan, Budget, and Prep
Start by measuring the room and sketching a rough layout. Note where the existing plumbing sits – moving a pipe is the biggest expense in a DIY remodel. Set a realistic budget: allocate about 40% for fixtures, 30% for materials (tiles, paint, cabinets), 20% for tools, and keep 10% as a safety net for unexpected issues.
Gather the essentials before you begin: a good-quality wrench set, a drill, a tile cutter, a level, and safety gear. Order fixtures early – a new vanity, a toilet, a showerhead – so they arrive before demolition starts. This prevents delays and keeps the workflow smooth.
Demolition and Rough‑in Work
Turn off the water supply at the main valve and drain any remaining water from the lines. Remove the old vanity, toilet, and any wall panels you plan to replace. Use a reciprocating saw for cutting through drywall, but wear a mask to avoid inhaling dust.
When you reach the plumbing, decide if you’ll keep the existing positions. If they work, simply disconnect the old fixtures and clean the pipes. If you need to shift a sink or shower, use a pipe‑bending tool and remember to test for leaks before moving on.After the rough‑in is done, let the area dry completely. This is especially important if you discovered hidden water damage – repair it now with a waterproof membrane to avoid future mold.
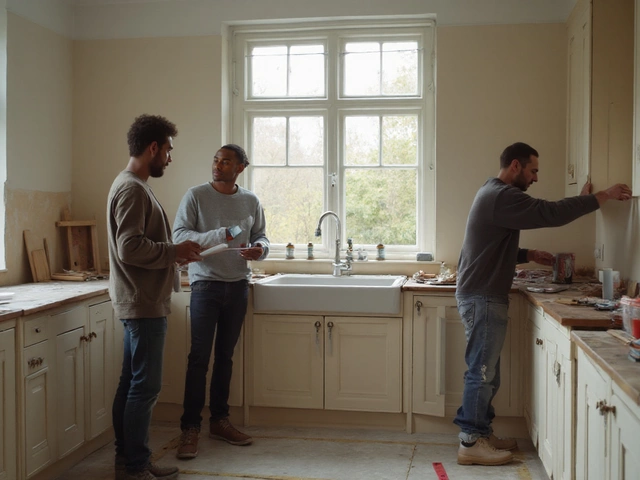
Finishing Touches
Lay flooring first. For a DIY bathroom, snap‑lock vinyl or click‑lock laminate is easy to install and water‑resistant. Cut tiles with a wet saw for a clean edge, then spread thin‑set mortar and press tiles into place. Use spacers for even grout lines and wipe excess grout while it’s still wet.
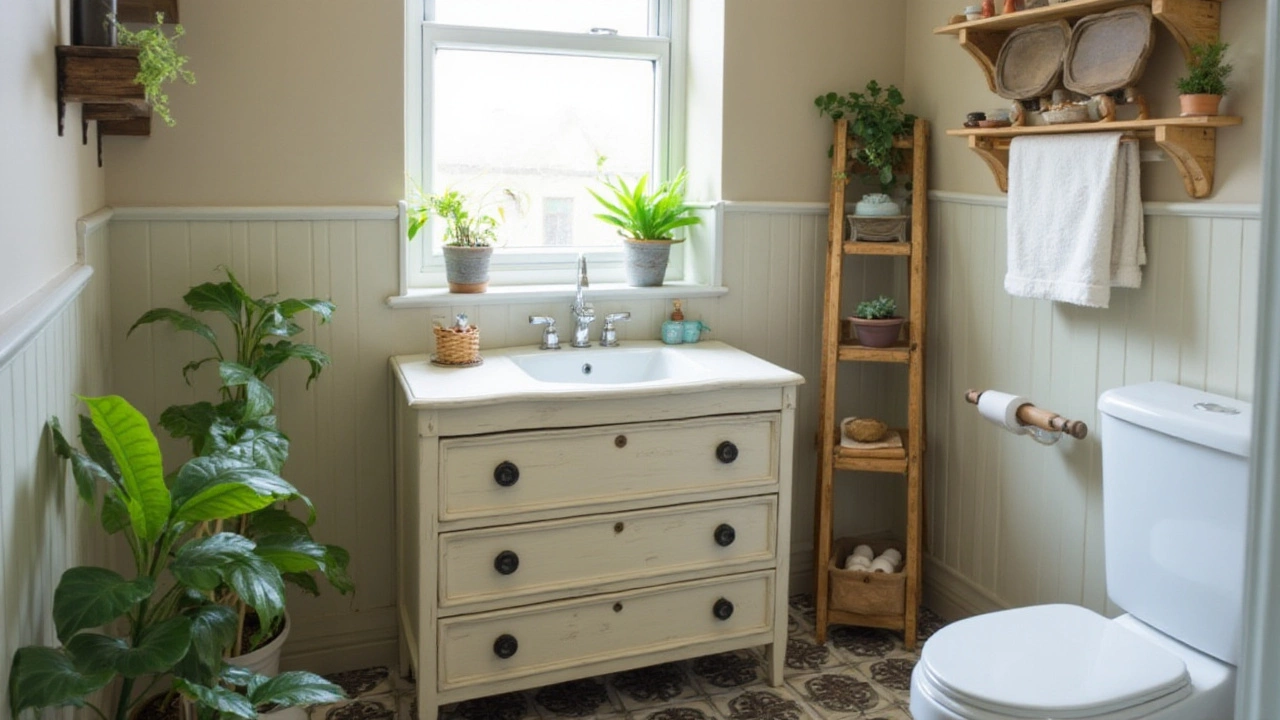
Install the new vanity, attach the countertop, and connect the sink faucet. When tightening connections, avoid over‑tightening – a snug fit is enough to stop leaks. Hang the new toilet, set the wax ring, and bolt it down securely.
Finish the walls with moisture‑resistant paint or wall panels. A light, bright color makes the space feel larger. Add accessories like towel bars, a mirror, and LED lighting to complete the look.
Finally, turn the water back on and check every joint for drips. Run a shower for a few minutes to ensure there are no hidden leaks. Clean up any remaining dust, and you have a brand‑new bathroom you built yourself.
With careful planning, the right tools, and patience, a DIY bathroom renovation can be done on a budget and give you a space you’ll enjoy for years. Ready to start? Grab your sketchpad, set a budget, and get to work – your new bathroom is within reach.
Affordable Tips for Bathroom Renovation
Renovating a bathroom doesn't always mean breaking the bank. With a bit of creativity and resourcefulness, it’s possible to transform your space. Learn how to prioritize changes, source cost-effective materials, and embrace DIY techniques. Explore clever design hacks to refresh your bathroom aesthetically without compromising quality. Get inspired to give your bathroom a new lease on life within a budget.
read more